Halloween: The Game Map Routes & Exit Points: Live Spawn Quick Reference
Where storm cellars, escape gates and the sedan spawn in Halloween: The Game. A post-launch screenshot map of live routes and exit points across Haddonfield.
Questions answered
Do exit and car spawn points move around every match?
How do I tell which kind of exit I have actually found?
Is this page about how to open the exits?
Which map do the screenshots come from?
Where are the exits, and how do you walk to them?
This page is a post-launch route and point quick reference: once you load into a live match, where do the storm cellars, escape gates and the sedan actually turn up, and which way do you move to reach them fast. It is built from a full private-match walkthrough of the spawn locations, with every screenshot pulled straight from that footage.
Last verified: September 14, 2026.
It deliberately does not re-explain how each exit works. The unlock sequences, the police-badge threshold for the wagon, and the strict three-person capacity limit all live in the escape guide. Read that for how to open an exit; stay here for where the exits are and how to route between them. The four launch maps themselves are profiled on their own pages — Haddonfield Town Center, Haddonfield Heights, Orange Grove Estates and East Haddonfield — which recorded the pre-release layouts; this page adds the on-the-ground spawn data that only exists after launch.
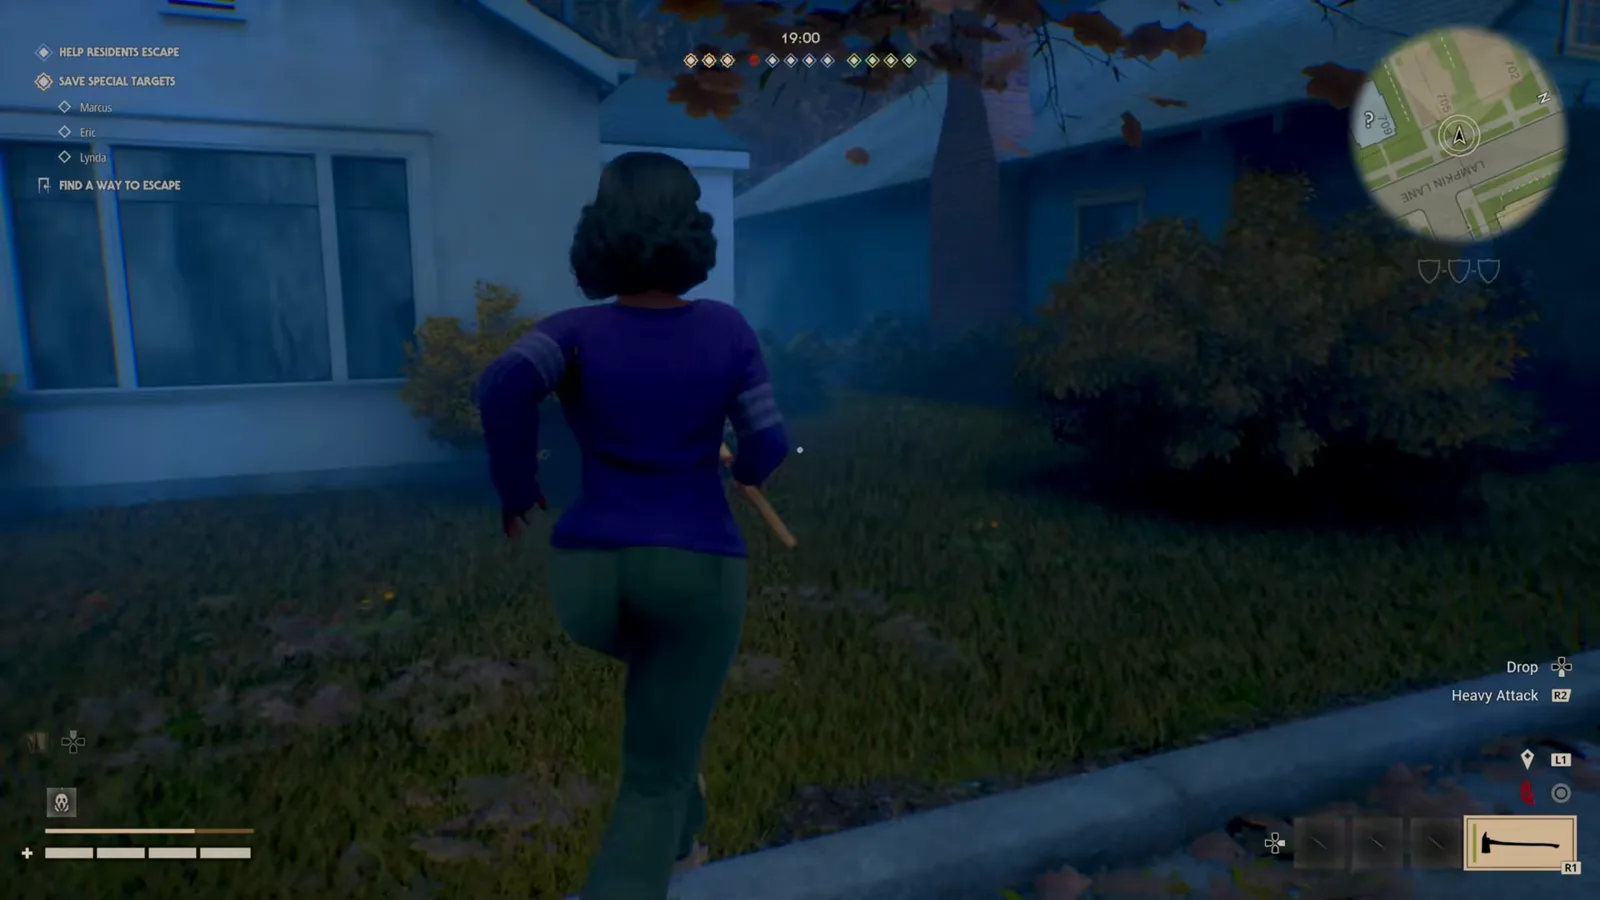
Route between properties through the backyards rather than the open street. Watch at 9:00.
How spawns are distributed on a live map
The walkthrough’s core finding is simple: spawn points are randomised every match, but drawn from a small fixed pool per map, so they repeat. As the creator puts it in the intro, “the spawn locations are random every game, but there’s only so many different places that things can spawn … a lot of times the spawns will repeat” (0:31). That is the whole reason a route guide is worth memorising — you are not hunting a moving target, you are checking a short list of known spots.
The creator’s own legend colours the problem in two buckets: yellow for cars, blue for exits (1:01), and each map segment in the video lists the exit spots first and the car spots second. On the live HUD you get the same split for free: the objective panel names the exit you are standing next to and spells out its steps, so you never have to guess which kind of escape you have found.
Storm cellars: the backyard exit
Storm cellars are a walk-out exit — unlock one and you and your residents simply leave through it. On this map they cluster in backyards and hard against house walls, not on the open street. Two physical states showed up repeatedly on Haddonfield Heights, and both then need the padlock dealt with:
| Cellar state | What blocks it | What the HUD asks for |
|---|---|---|
| Boarded | Timber planks across the hatch | Destroy the Boards (two-handed melee), then Use a Key or Bolt Cutters on the Padlock, then Open the Storm Cellar |
| Overgrown | Creepers and fallen leaves over the lid | Clear the Overgrown Plants, then Use a Key or Bolt Cutters on the Padlock, then Open the Storm Cellar |
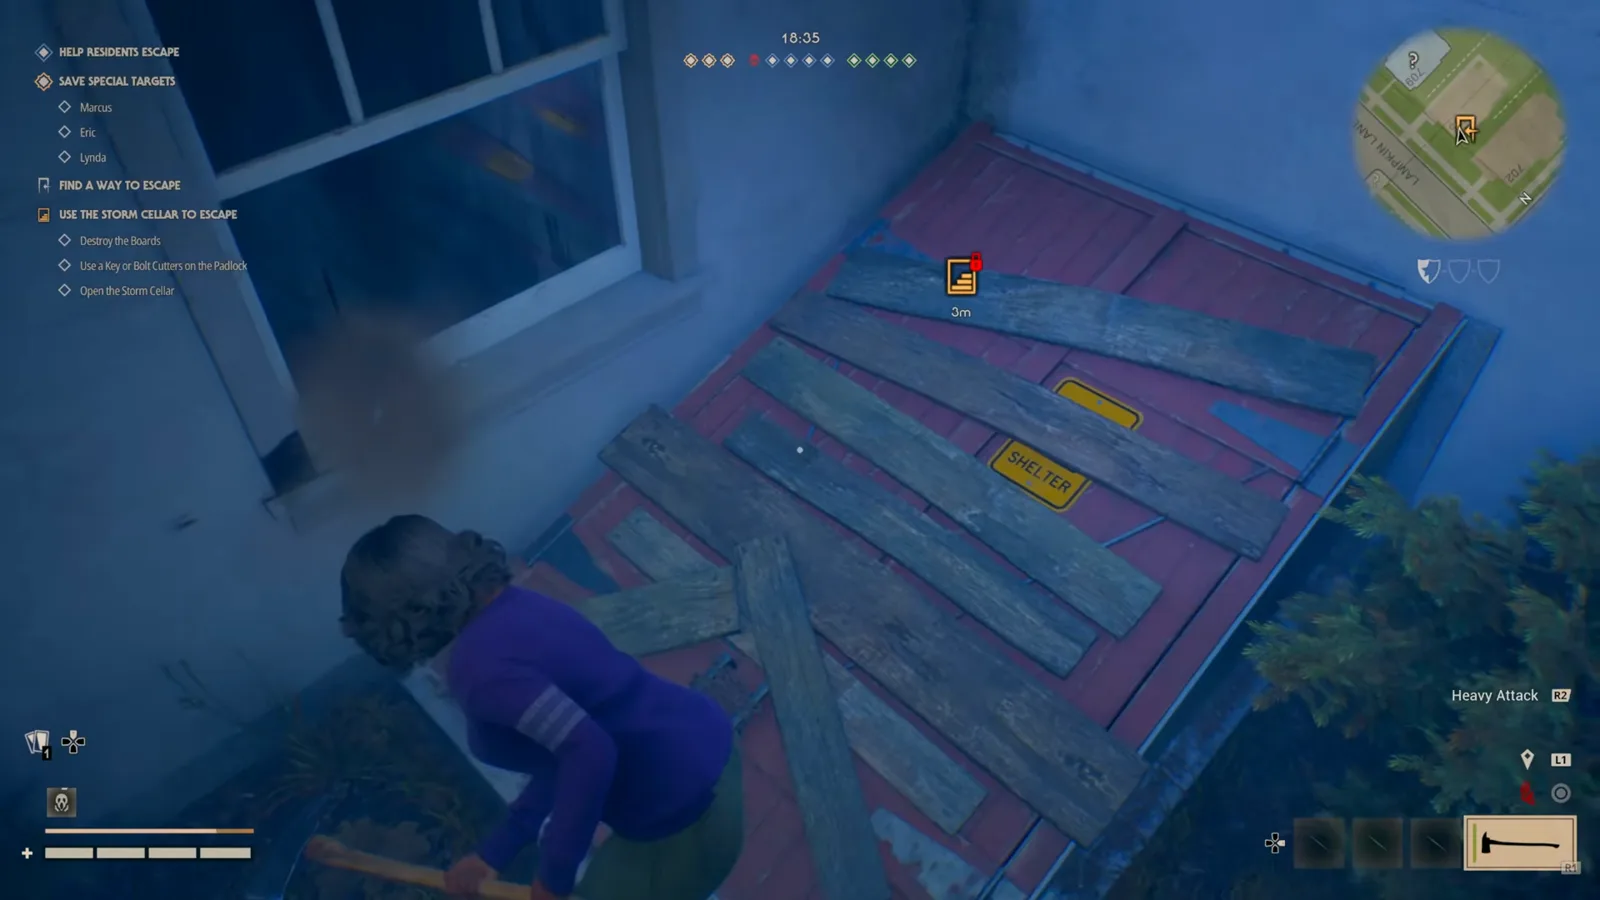
Approach from the wall side; the padlock marker sits a few metres out. Watch at 9:25.
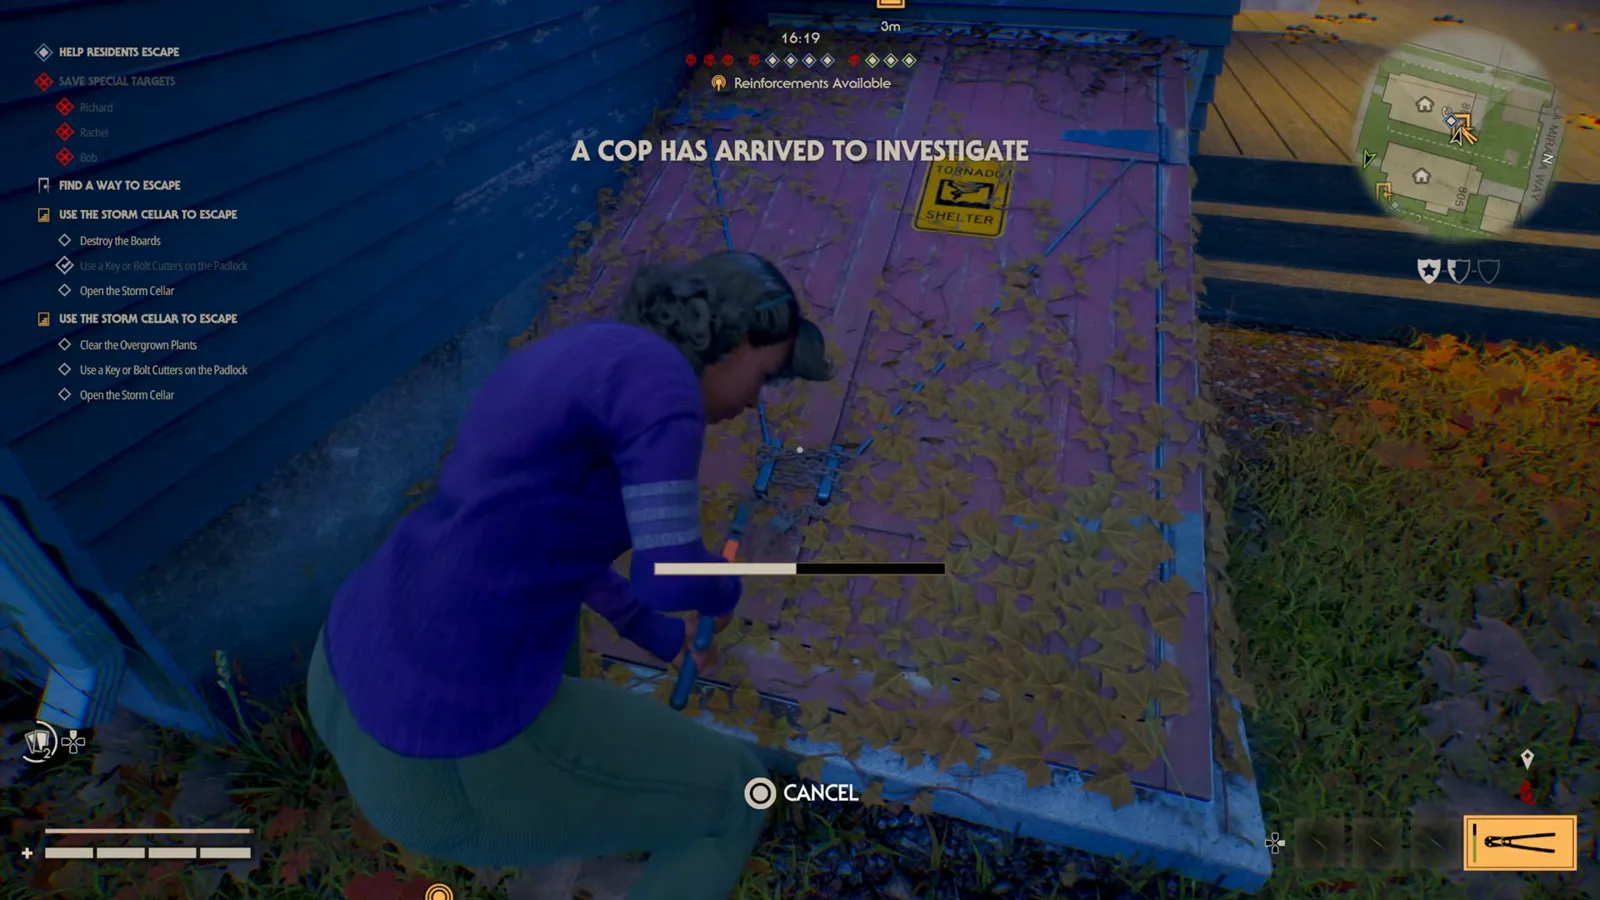
The overgrown variant costs you a clear action before the padlock even matters. Watch at 10:05.
Once the boards are gone or the plants are cleared, the hatch is live and the Open prompt appears — the walkthrough banks a +500 XP Removed Escape Blocker for the last obstacle. Note the cop-event banners (A COP HAS ARRIVED TO INVESTIGATE, POLICE WAGON CALLED) that fire while you work: those belong to the police-wagon exit and are handled in the escape guide.
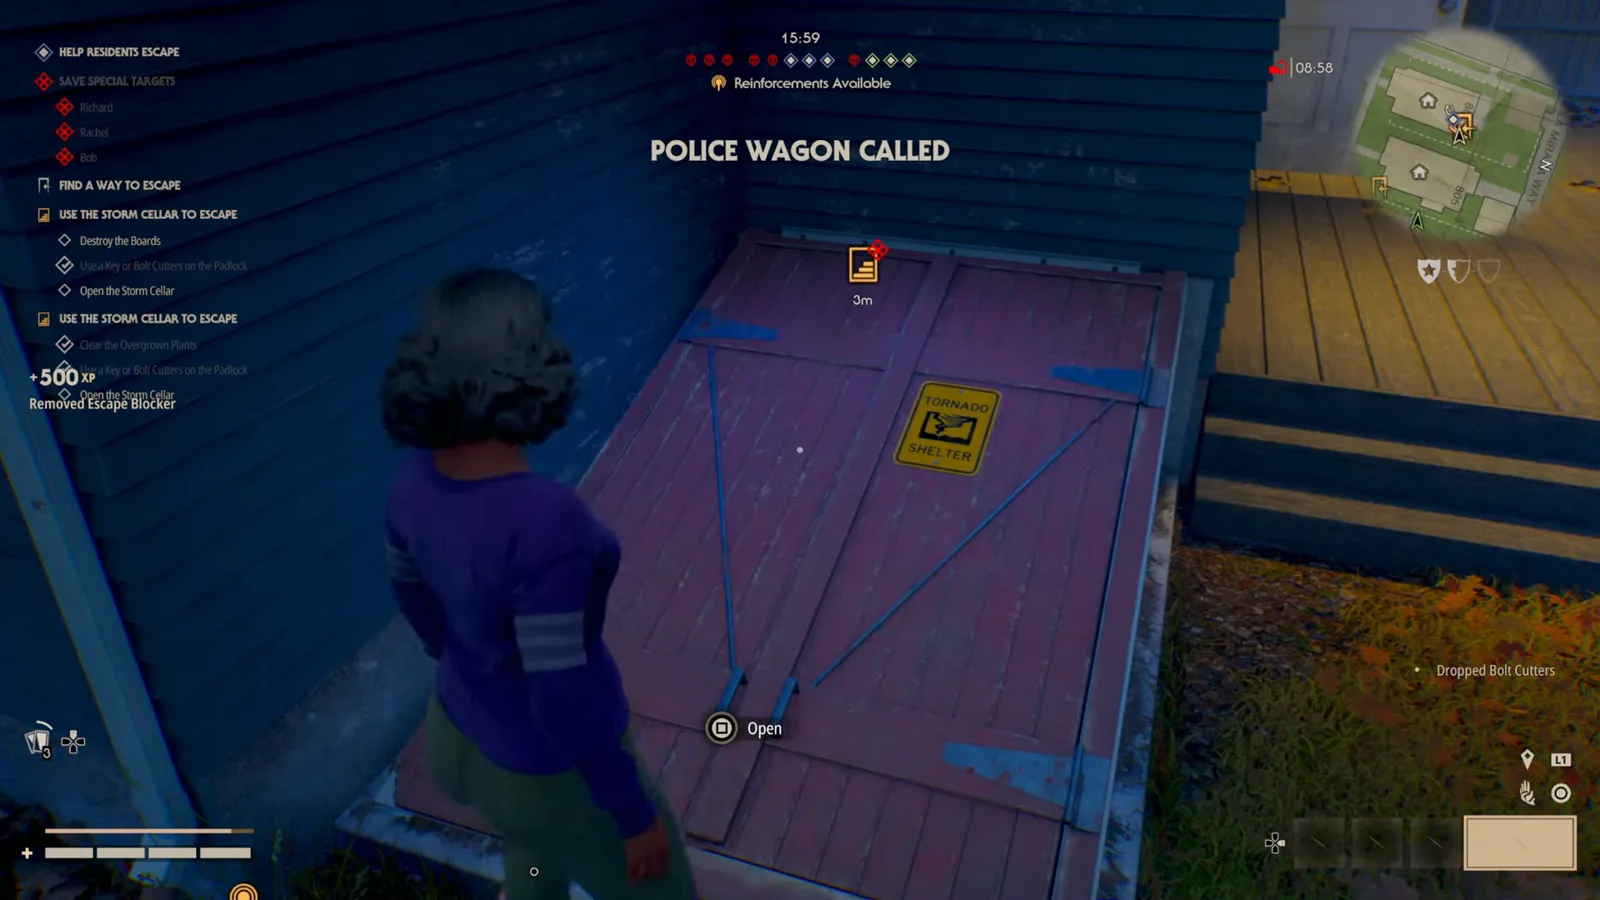
Cleared and ready: this is the exact frame at which you order residents to flee. Watch at 10:10.
Escape gates: the perimeter exit
The escape gate is the map-edge exit, and it is the most gated one in the route sense — you will usually find it behind a spiked iron fence wearing a red-and-blue PRIVATE PROPERTY NO TRESPASSING sign. Unlike a cellar, it needs power and an unlock:
Use a Fuse to Fix the Fuse Box— a rare fuse goes into the brick-pillar box, then a timed skill check (theR1ring) restores power.Use a Key or Bolt Cutters on the Padlock— the chain on the gate itself.Open the Exit Gate— walk-out, same as a cellar.
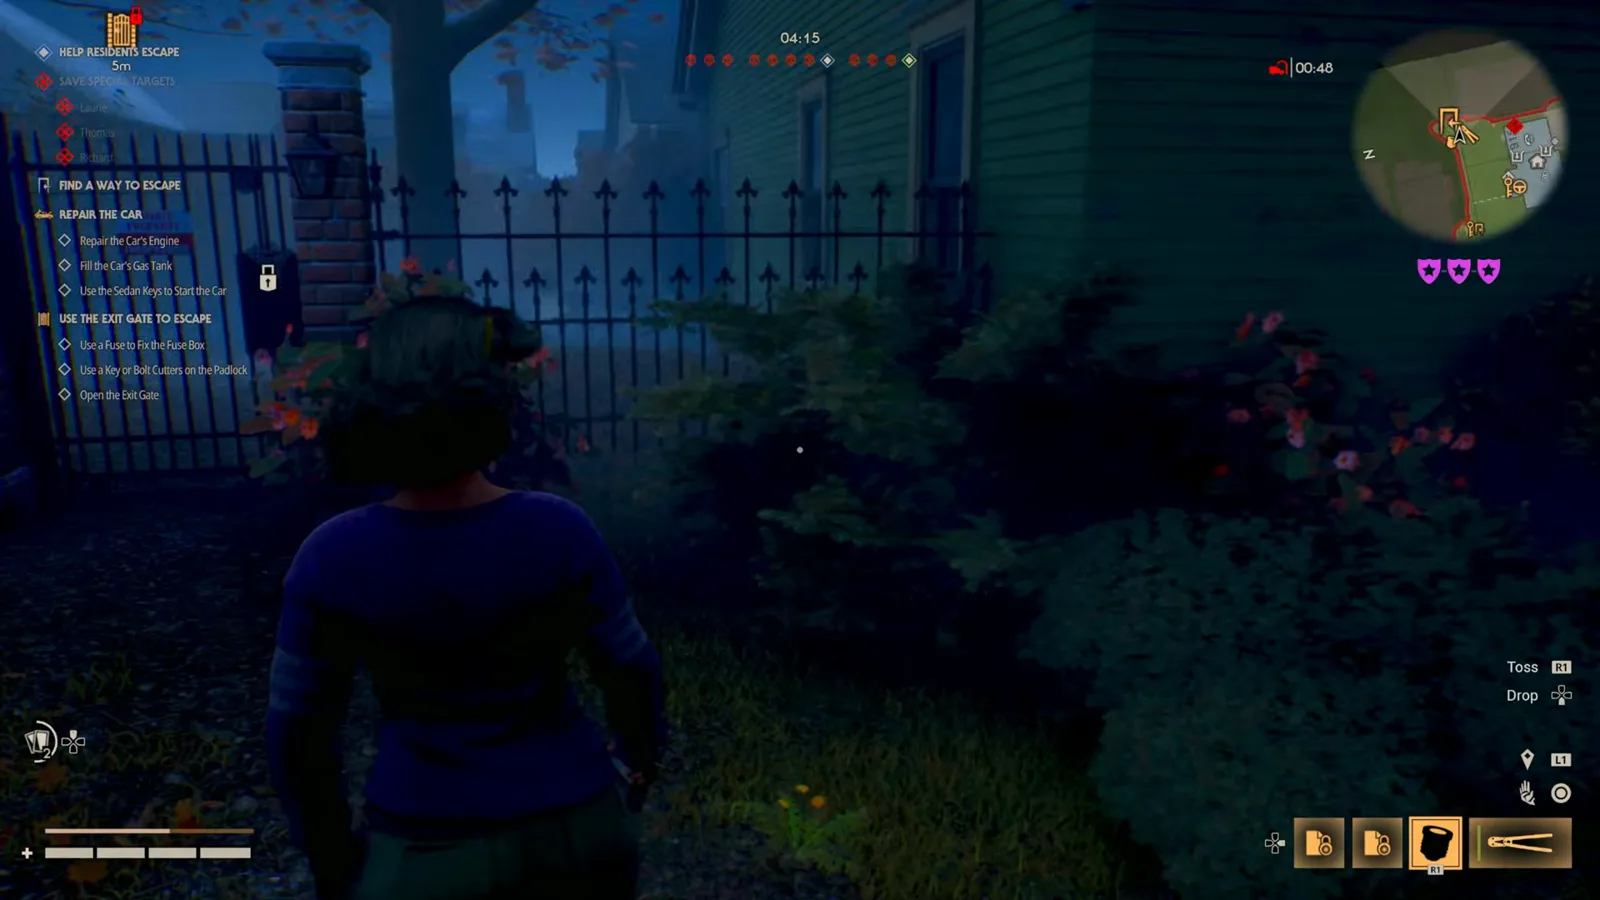
The objective panel stacks both the car and the gate checklists here — read which one you are actually standing at. Watch at 10:45.
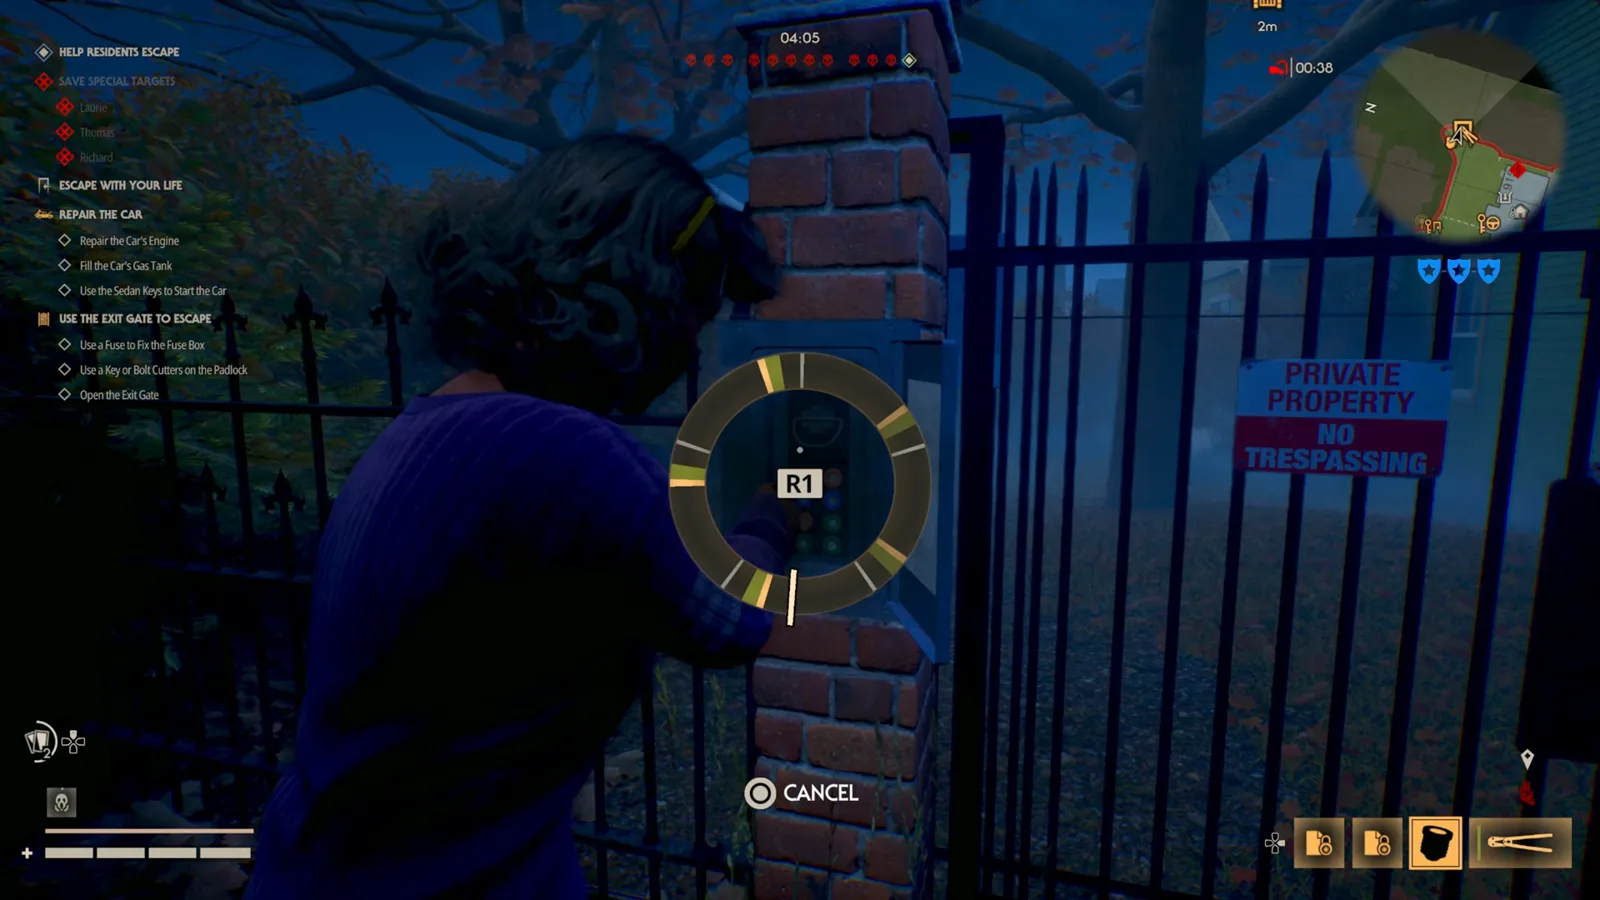
The fuse-box skill check is the fiddly part; a clean stop on the ring powers the latch. Watch at 10:55.
Because gates sit on the boundary and need a fuse, they are the exit to route toward late, not early — grab a fuse while you loot houses, then save the gate as your planned extraction. Fuses are scarce relative to keys and cutters, which is why the items guide flags them as worth pinging to the whole team.
The sedan: the motorised car exit
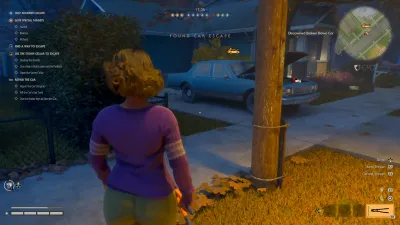
The sedan is the motorised exit, and the walkthrough’s own legend keeps it distinct from Michael’s vehicle by labelling the player car spots Cars (Sedan). Finding it is a matter of checking the map’s car spots until you turn up the one that spawned. On screen it is unmistakable: hood up, a FOUND CAR ESCAPE banner and a Discovered Broken Down Car tag.
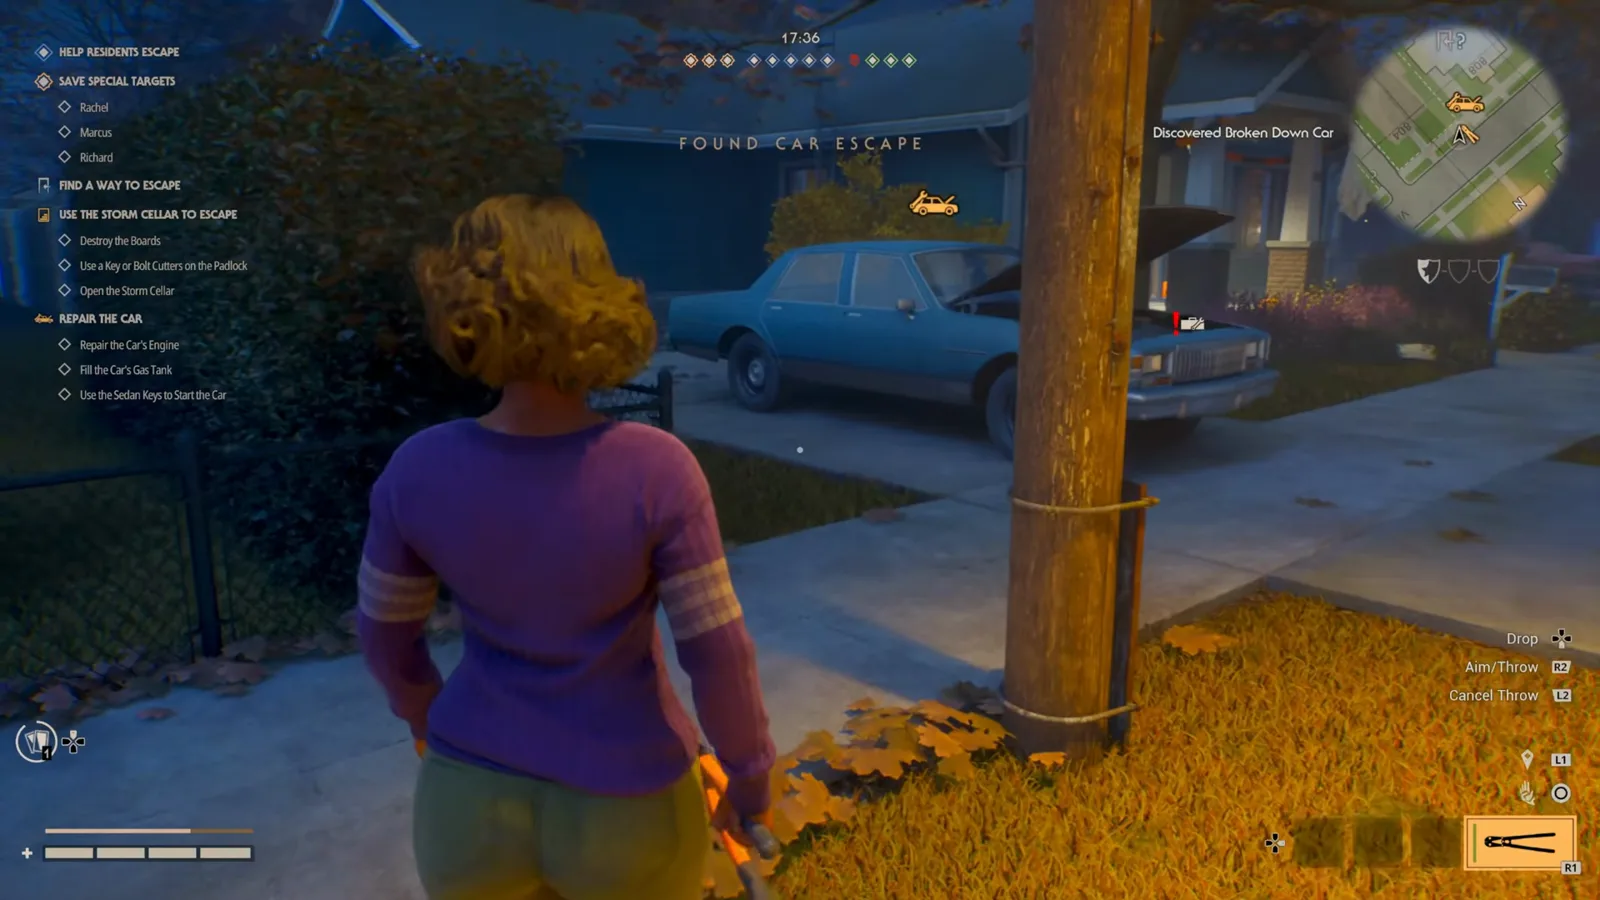
Spot the raised hood from the kerb — that is the tell for the sedan spawn. Watch at 11:10.
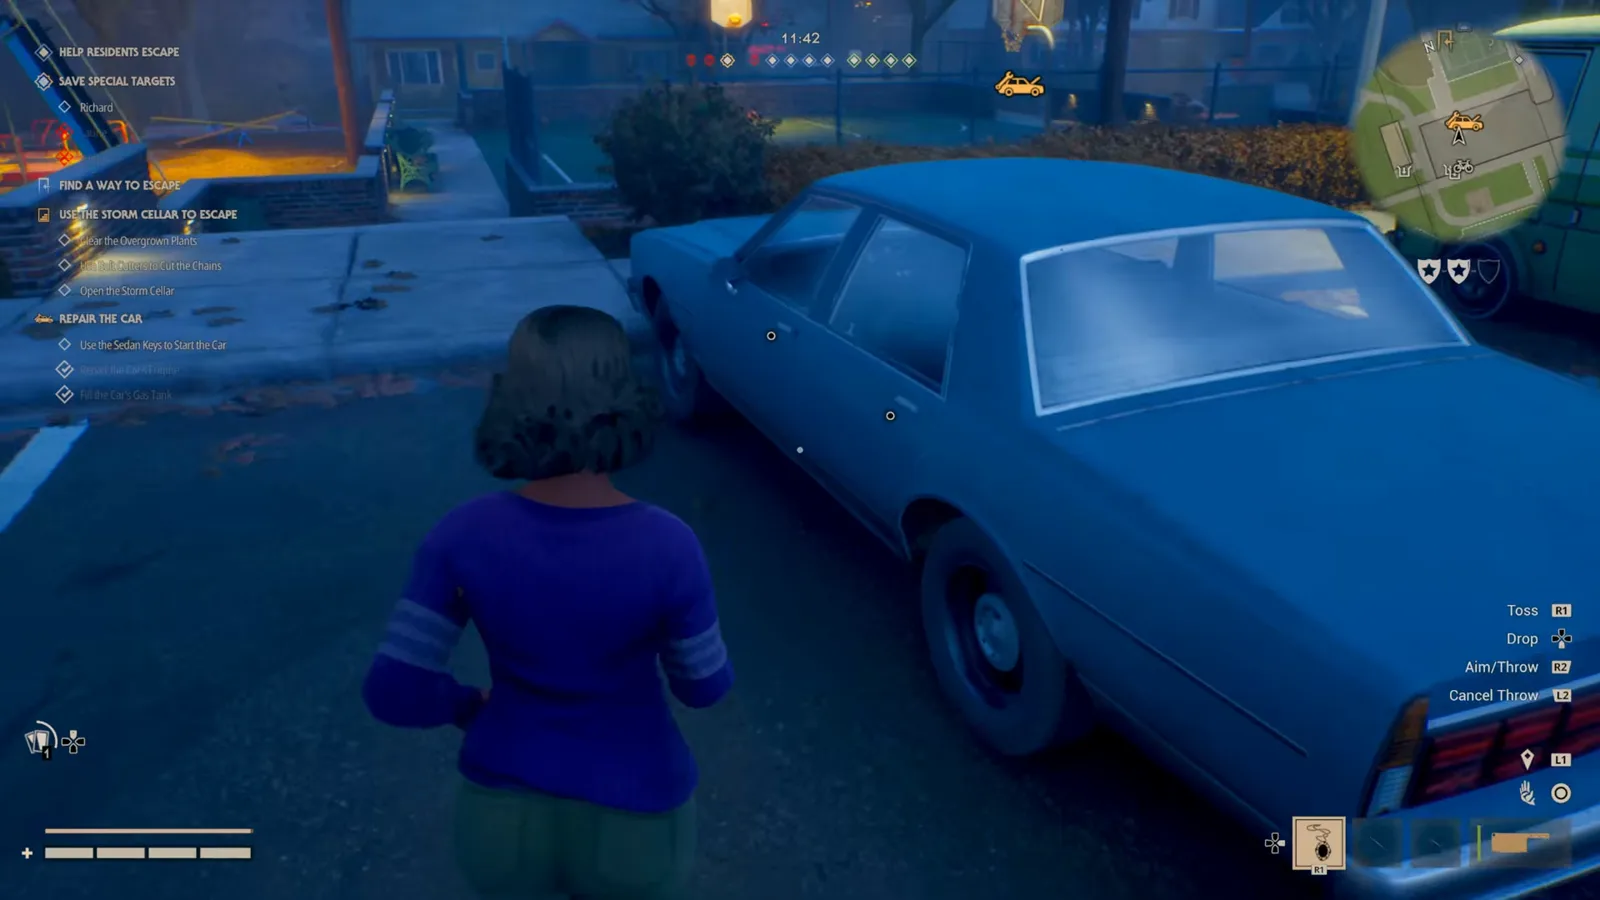
From the side the whole REPAIR THE CAR checklist is waiting: keys, engine, gas tank. Watch at 11:30.
The REPAIR THE CAR objective wants three things — Repair the Car's Engine, Fill the Car's Gas Tank, Use the Sedan Keys to Start the Car — and the assembly itself is the escape guide’s job. For routing purposes the takeaway is placement: sedans spawn on driveways and kerbside, so once you know a map’s car spots you can lock the vehicle down early and use it as your anchor while you ferry residents out. Which survivor you bring also shapes your opening kit, profiled on the Heroes of Haddonfield roster.
Reading the street: how to move between points
The connective tissue is movement. On a residential map like Haddonfield Heights the exits sit at the edges and backyards, so the efficient route is to work the perimeter and the fences between houses rather than sprinting down the middle of the road.
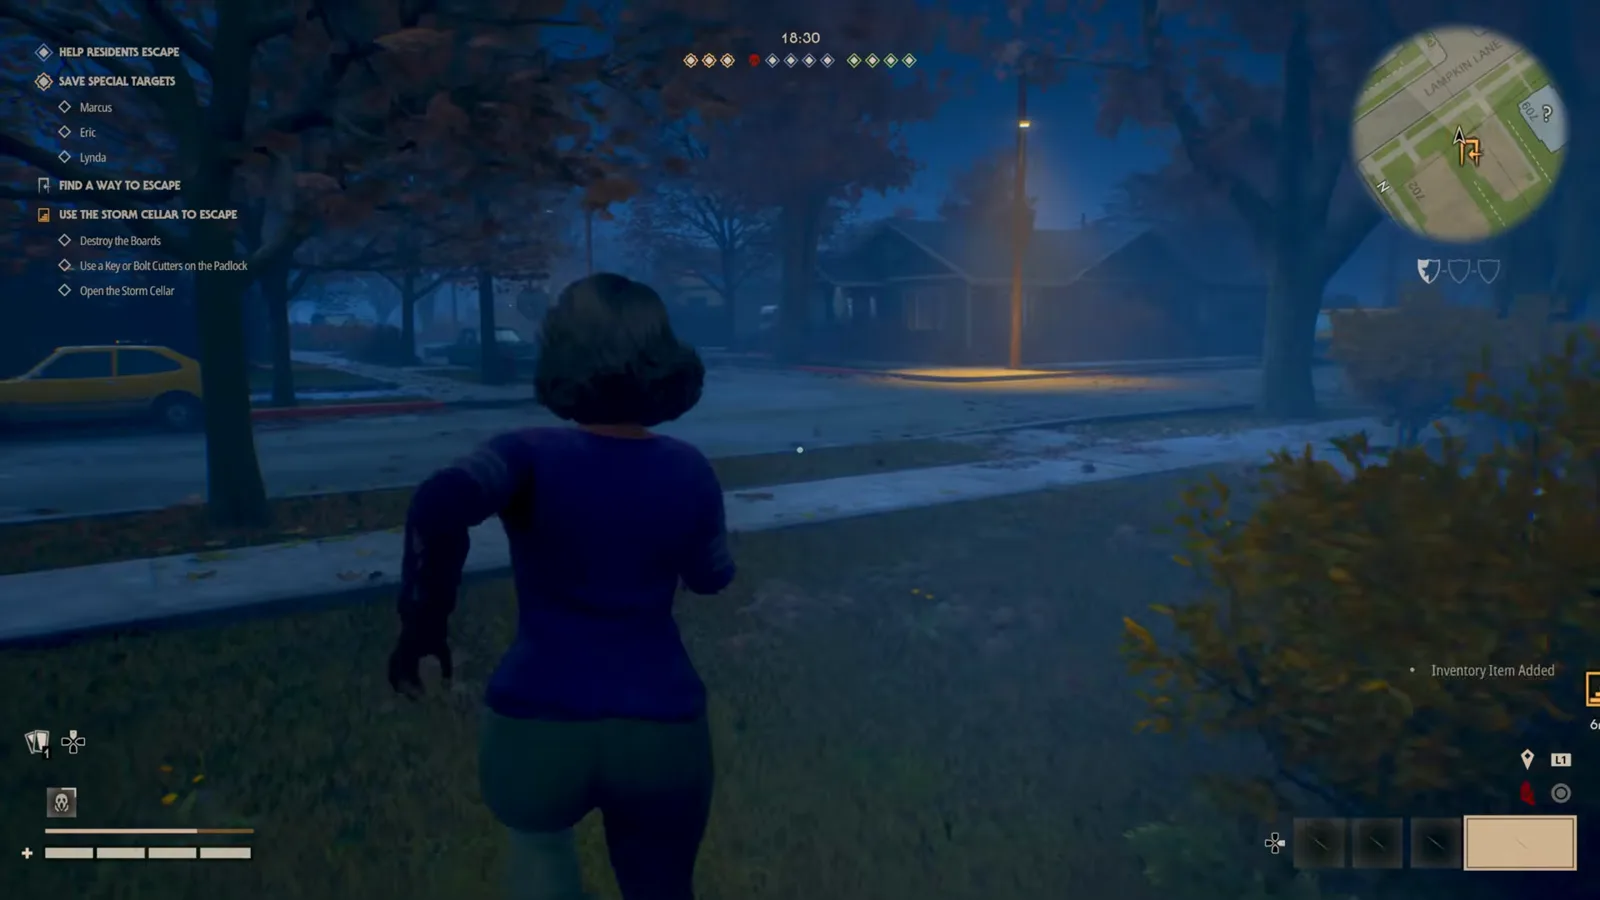
Use the lit houses as navigation landmarks; loot them on the way to a yard exit. Watch at 9:30.
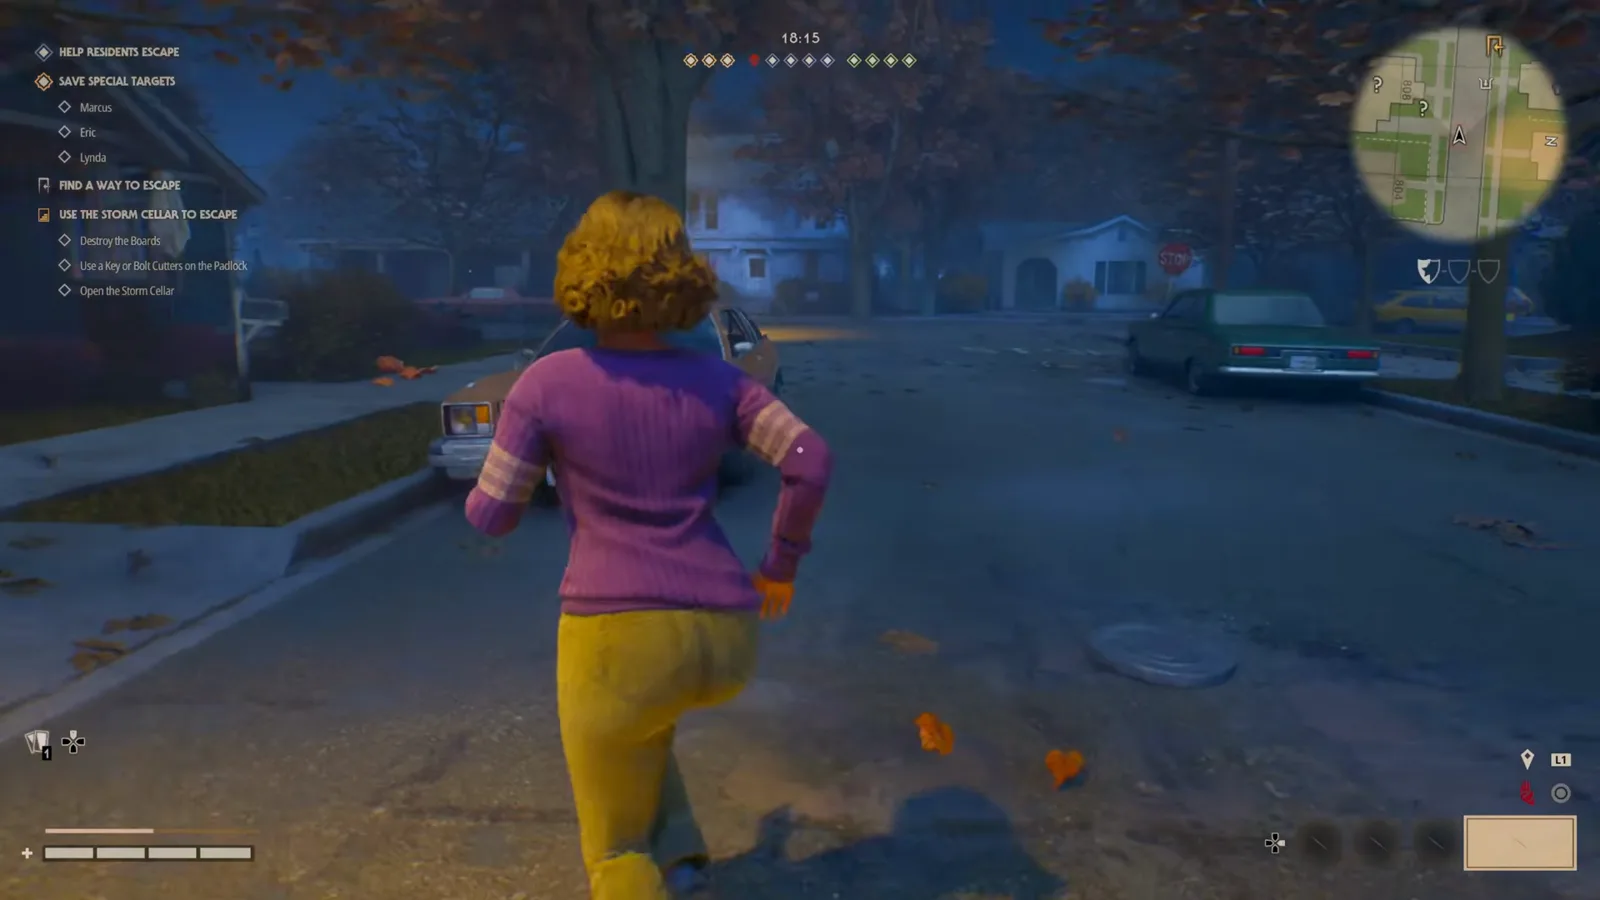
Open blocks like this are where you are most exposed — cross them quickly, dwell in yards. Watch at 9:45.
Where these routes sit on each map
The same walkthrough covers all four launch maps, so the pattern above repeats with a different flavour per district. The clean stills on this page are from Haddonfield Heights, but the video also physically walks the other three — check each map’s own page for its landmarks and pre-release layout, then come back here for the live spawn behaviour.
- Haddonfield Heights — dense residential backyards; the source of every screenshot here (cellars from 9:00, gate from 10:45).
- Haddonfield Town Center — the video’s downtown segment, walking the shopfront streets (from 2:00).
- East Haddonfield — the perimeter-heavy segment (from 3:40).
- Orange Grove Estates — the large-house segment (from 6:40).

ALL Escape Locations in Halloween The Game (Complete Map Guide) — ShawnJ Gaming
Sources
- ShawnJ Gaming — ALL Escape Locations in Halloween The Game (Complete Map Guide) (video ID
-uzcsBlLznM, ~11:48). Route and spawn claims from the intro narration at 0:31 (randomised-but-repeating spawns) and 1:01 (cars-vs-exits legend), plus the per-map walkthrough segments: Town Center 2:00, East Haddonfield 3:40, Orange Grove 6:40, Haddonfield Heights 9:00+. - Every screenshot on this page is a frame from the un-narrated Haddonfield Heights playthrough portion (9:00–11:30), chosen because those frames carry no creator map graphic, caption text or facecam. In-game objective text —
USE THE STORM CELLAR TO ESCAPE,USE THE EXIT GATE TO ESCAPE,REPAIR THE CAR,PRIVATE PROPERTY NO TRESPASSING,FOUND CAR ESCAPE,POLICE WAGON CALLED,+500 XP Removed Escape Blocker— was read directly off the HUD in those frames. - Specific per-map spawn counts are not claimed here; the walkthrough does not narrate them, so this page only states what the footage shows.
Related Guides
- How to Escape — All Routes and Survival Rules — The opening mechanics, police dispatch and capacity limits this page deliberately leaves out.
- Haddonfield Heights Map Guide — Landmarks and layout for the map every screenshot here is taken from.
- All Items and Weapons — Where bolt cutters, cellar keys, fuses, gas cans and sedan keys come from.
- Civilian Survival Tips — Looting, persuading and arming residents before you route them to an exit.
- Michael Myers (The Shape) Profile — Why the shortest street is rarely the safest route.
- Multiplayer Overview & Launch Checklist — How the 1v4 match and the four maps fit together.
- Campaign Walkthrough — The story-mode missions that put these routes under time pressure.
- Beginner Tips and Mistakes — Why memorising one exit is the most common new-player error.
Evidence gallery
Related field reports
characters
Halloween: The Game All Civilians: Stats and Traits Screen by Screen
All 12 Civilians in Halloween: The Game: every attribute rating read off the character screen, with each trait named on screen and its effect quoted.
game-info
Halloween: The Game Developer and Publisher: IllFonic and Gun Interactive
Halloween: The Game is developed by IllFonic and published by IllFonic Publishing, with Gun Interactive recorded as co-publisher. Studio base, credits, support.
guides
Halloween: The Game XP: How to Level Up Fast and What Unlocks
XP awards read off live Killer-POV footage in Halloween: The Game, plus the Profile Level and challenge gates printed in the Killer loadout menu.
Was this report useful?
Response recorded