Halloween: The Game Prologue Challenges: All Six Explained
Every Prologue challenge in Halloween: The Game: terrify or kill orderlies, the no-alert route, the telephone-pole execution, and what the reward skin is.
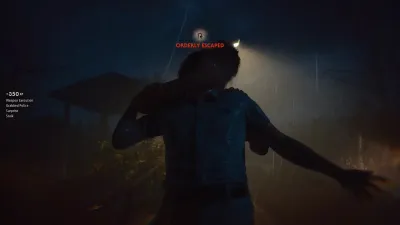
Questions answered
Is the Halloween: The Game Prologue a free demo?
How many challenges does the Prologue have?
What is the reward for finishing the Prologue challenges?
Do Prologue challenges count if I fail and restart the chapter?
Does the alarm ruin a no-alert run in the Prologue?
Is the Prologue a demo, or a chapter?
It is a chapter. In Halloween: The Game the Prologue is the opening stage of the single-player story mode — you play as Michael Myers on the night of October 30th, 1978, breaking out of Smith’s Grove Sanitarium — and it carries its own numbered challenge list with a reward attached. Nothing in the footage or in any source consulted for this page treats it as a separate free demo build.
Last verified: September 19, 2026.

The chapter opens on the sanitarium itself before handing you control. Watch at 0:15.
The on-screen proof is in the HUD. The moment control starts, the objective slot in the top-left reads ESCAPE FROM SMITH'S GROVE and the chapter banner across the middle of the screen reads ESCAPE THE SANITORIUM — the same title the challenge list hangs off. For the wider picture of what the mode contains, see the single-player story mode guide; for the beat-by-beat story events of this escape, the campaign walkthrough covers Chapter 1 in narrative order.
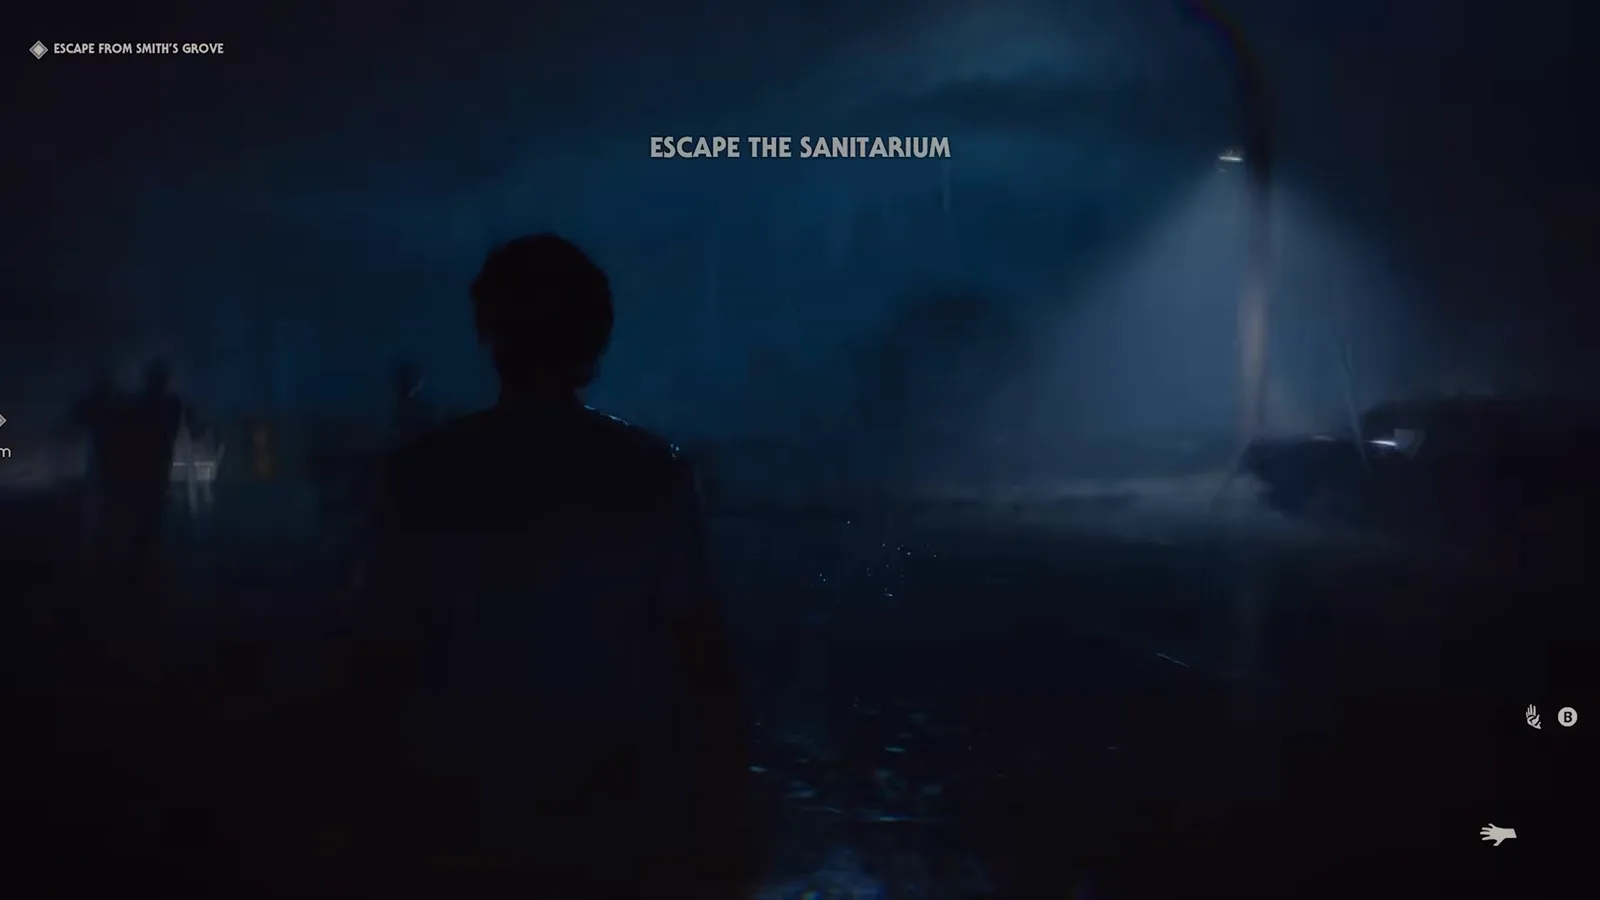
Michael in a patient gown, rain, searchlights, and the wagon waiting somewhere past the fence. Watch at 2:10.
What are the six Prologue challenges?
| # | Challenge goal (as stated by sources) | Where it happens | Evidence |
|---|---|---|---|
| 1 | Terrify an orderly and cause him to flee | Opening yard, first orderlies you meet | JROID [0:31]; ORDERLY ESCAPED on-screen |
| 2 | Grab and execute three orderlies with bare hands | Anywhere you can grab one | JROID [1:01]; Bare Handed slot on-screen |
| 3 | Execute an orderly with the telephone pole | Late map, beside the power box | JROID [1:32]; TURN OFF THE POWER BOX on-screen |
| 4 | Throw an orderly to his death | Right of the telephone-pole spot, on the road | JROID [2:03] |
| 5 | Complete the chapter without alerting any orderlies | The whole run | WEEZYFMAMBA [0:30], JCglitchmaster [0:00], JROID [2:34] |
| 6 | Take out or drive away every orderly before you escape (12 of them) | Whole map, backtracking required | JROID [9:24] |
JROID’s closing line fixes the count: “prologue is now complete. All six challenges are done” [14:46]. WEEZYFMAMBA runs the same layer as a series across the rest of the campaign — his first entry covers a Chapter 4 Challenge 6 — so the same six-goal layer appears to run through the rest of the campaign rather than being a Prologue quirk — this page evidences only the Prologue set.
Challenge 1 — terrify an orderly and let him run
The game hands you the loophole in its own objective text. Early in the chapter the HUD asks for KILL OR TERRIFY THE ORDERLY, and the tutorial card beside it explains the grab that does either job: “Pressing LT initiates a grab. This allows you to grab stalked victims, gaining control of their movement while you choose how to execute them.”
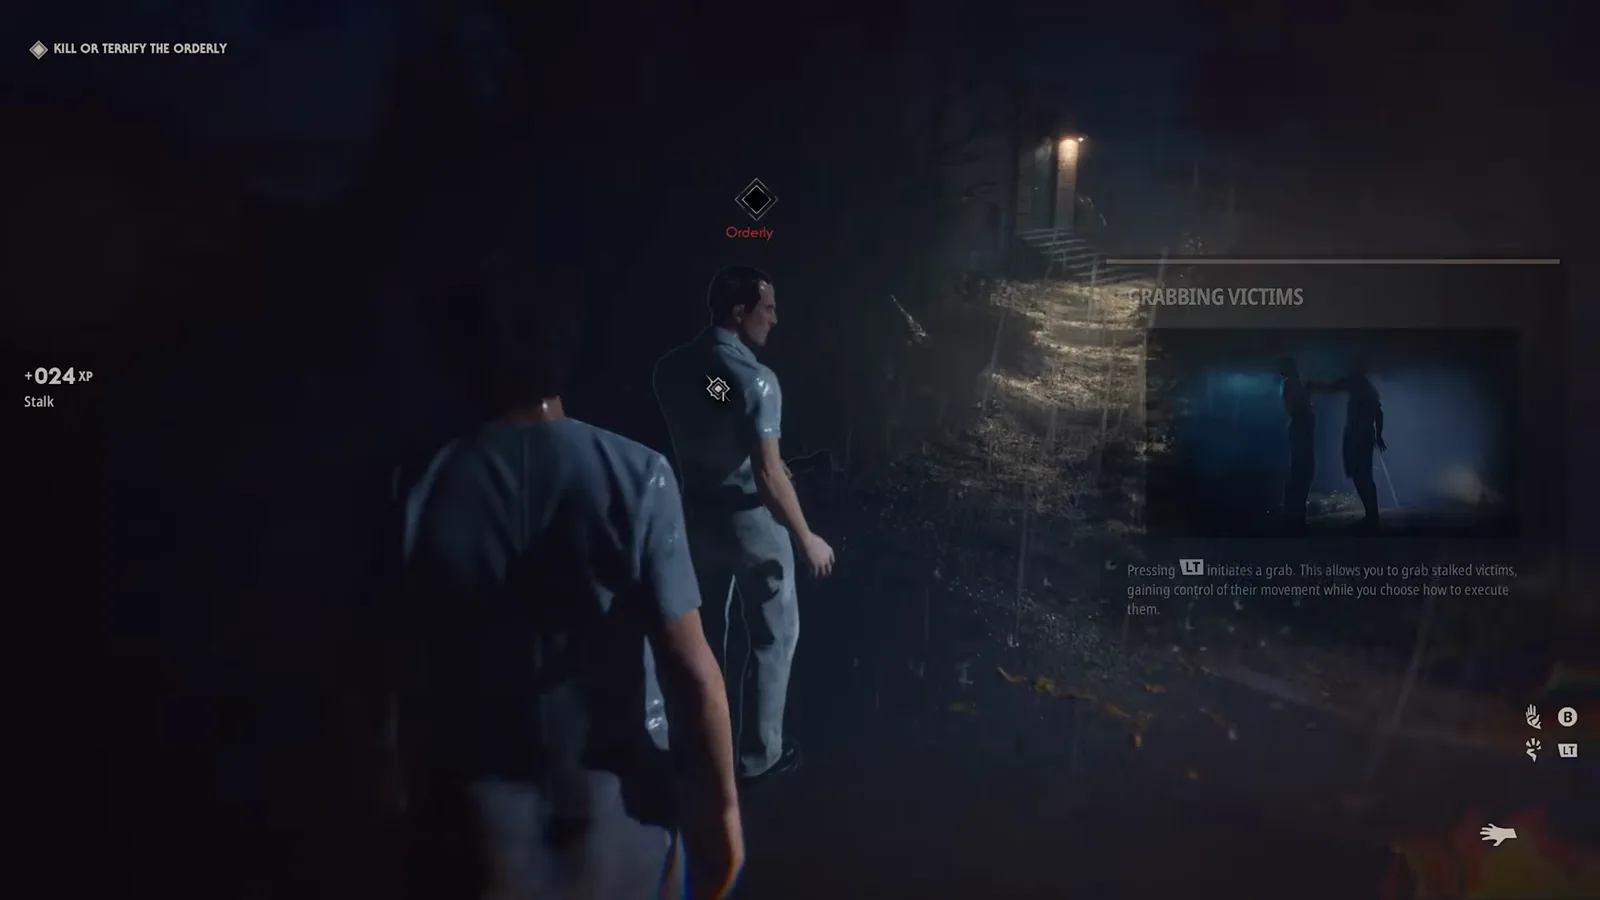
Terrifying is a supported outcome here, not a workaround. Watch at 2:43.
JROID’s method is to grab an orderly and simply fail the quick-time struggle so you drop him: the orderly then breaks and sprints. “May take a minute or so for him to run to the exit. As soon as it pops up on the screen that he has escaped, you will see that the challenge will mark off.” That pop-up is real and visible in clean footage — the red ORDERLY ESCAPED banner, with the fleeing orderly still lit in the searchlight ahead of you.
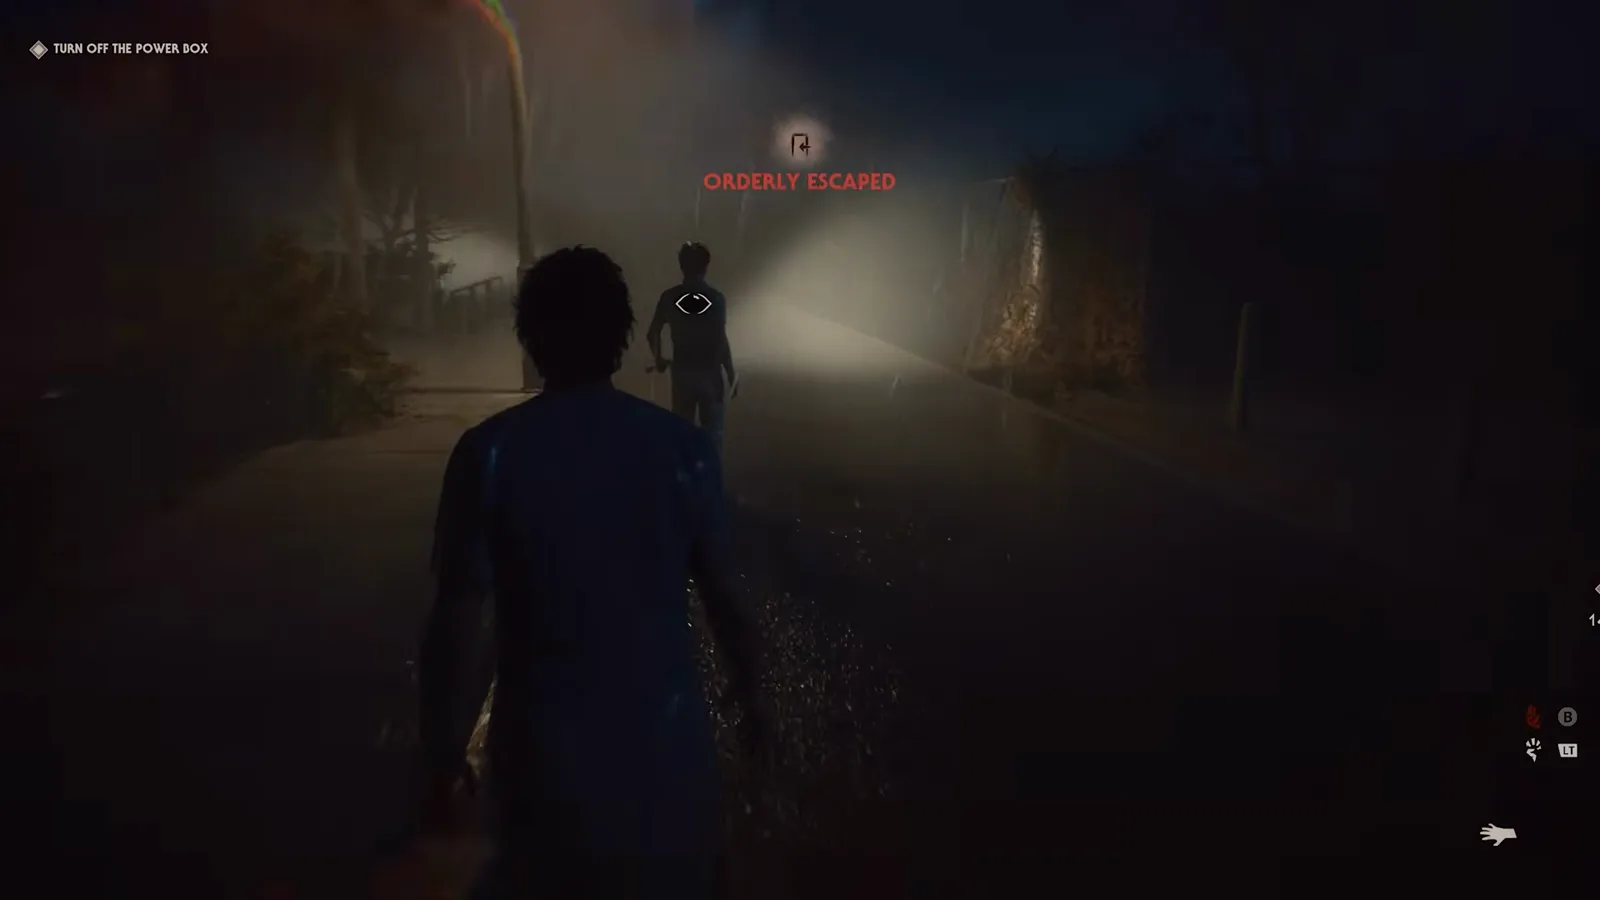
This banner is your completion signal — wait for it before you move on. Watch at 5:05.
Challenge 2 — three bare-handed executions
Grab (LT on console), then bring up the execution wheel and take the Bare Handed slot instead of a weapon. JROID expects most players to clear this one by accident, and notes the console execution button is L1/LB. The wheel and the XP it pays are both on screen: a grab pays +100 XP split across Grabbed Police, Surprise and Stalk.
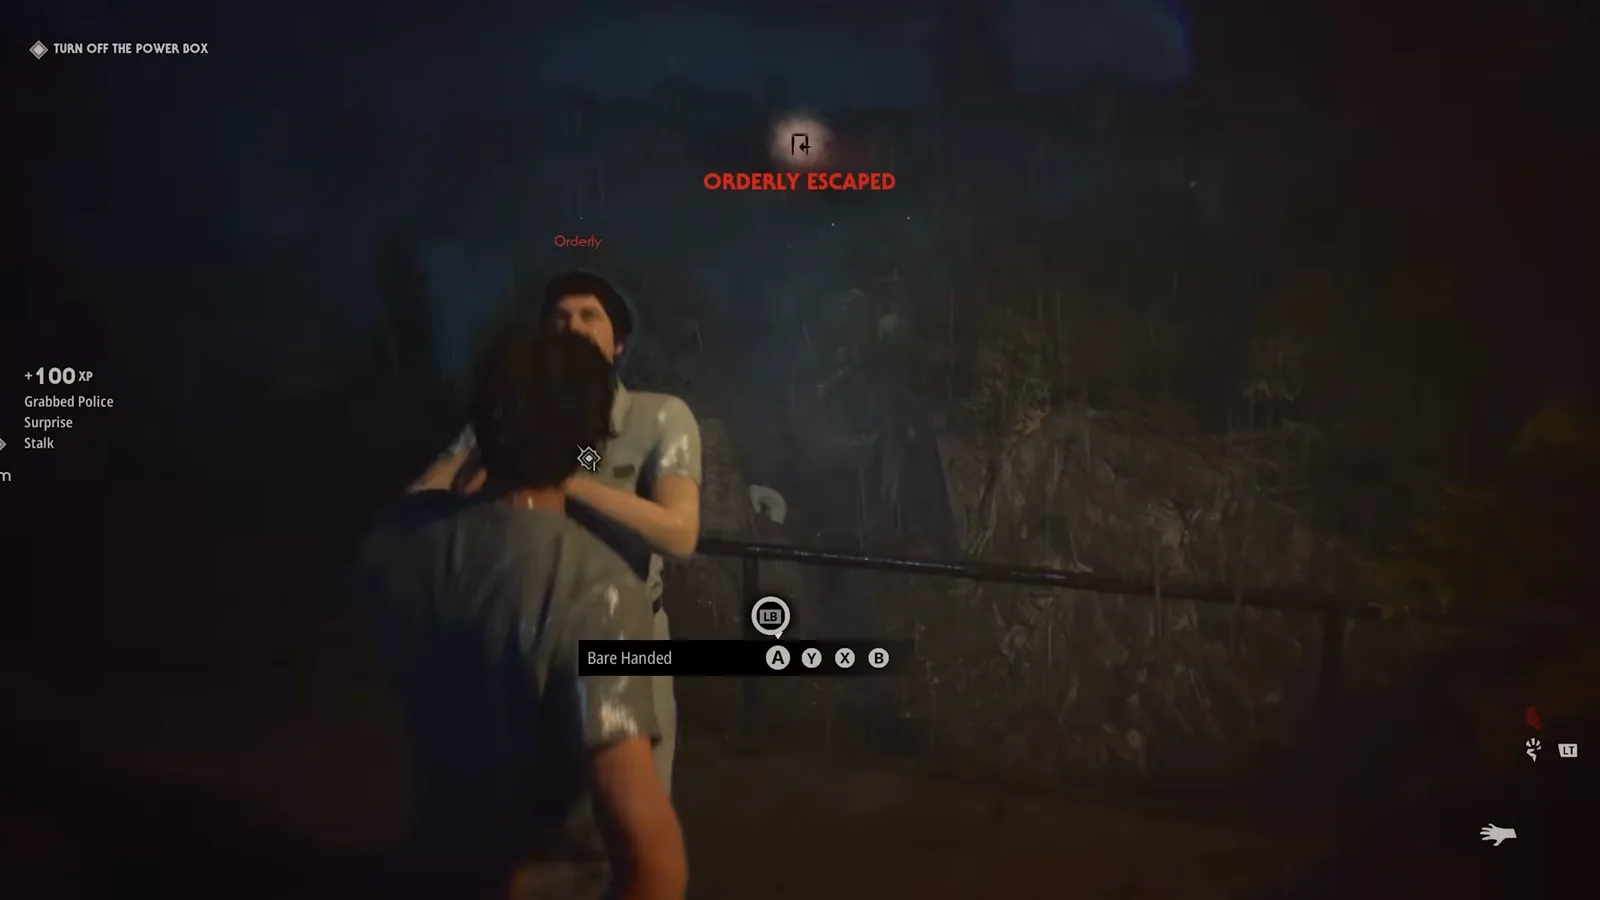
Three of these and the challenge clears — no weapon needed. Watch at 5:11.
Challenge 3 — the telephone-pole execution
Per JROID, the pole is near the end of the map, “right next to the power box that they tell you to turn off at the end of this mission. It’ll be to the right of that.” Grab an orderly, walk him to the pole, and press the button when the environmental-execution icon appears. The TURN OFF THE POWER BOX objective line is your landmark for the area.
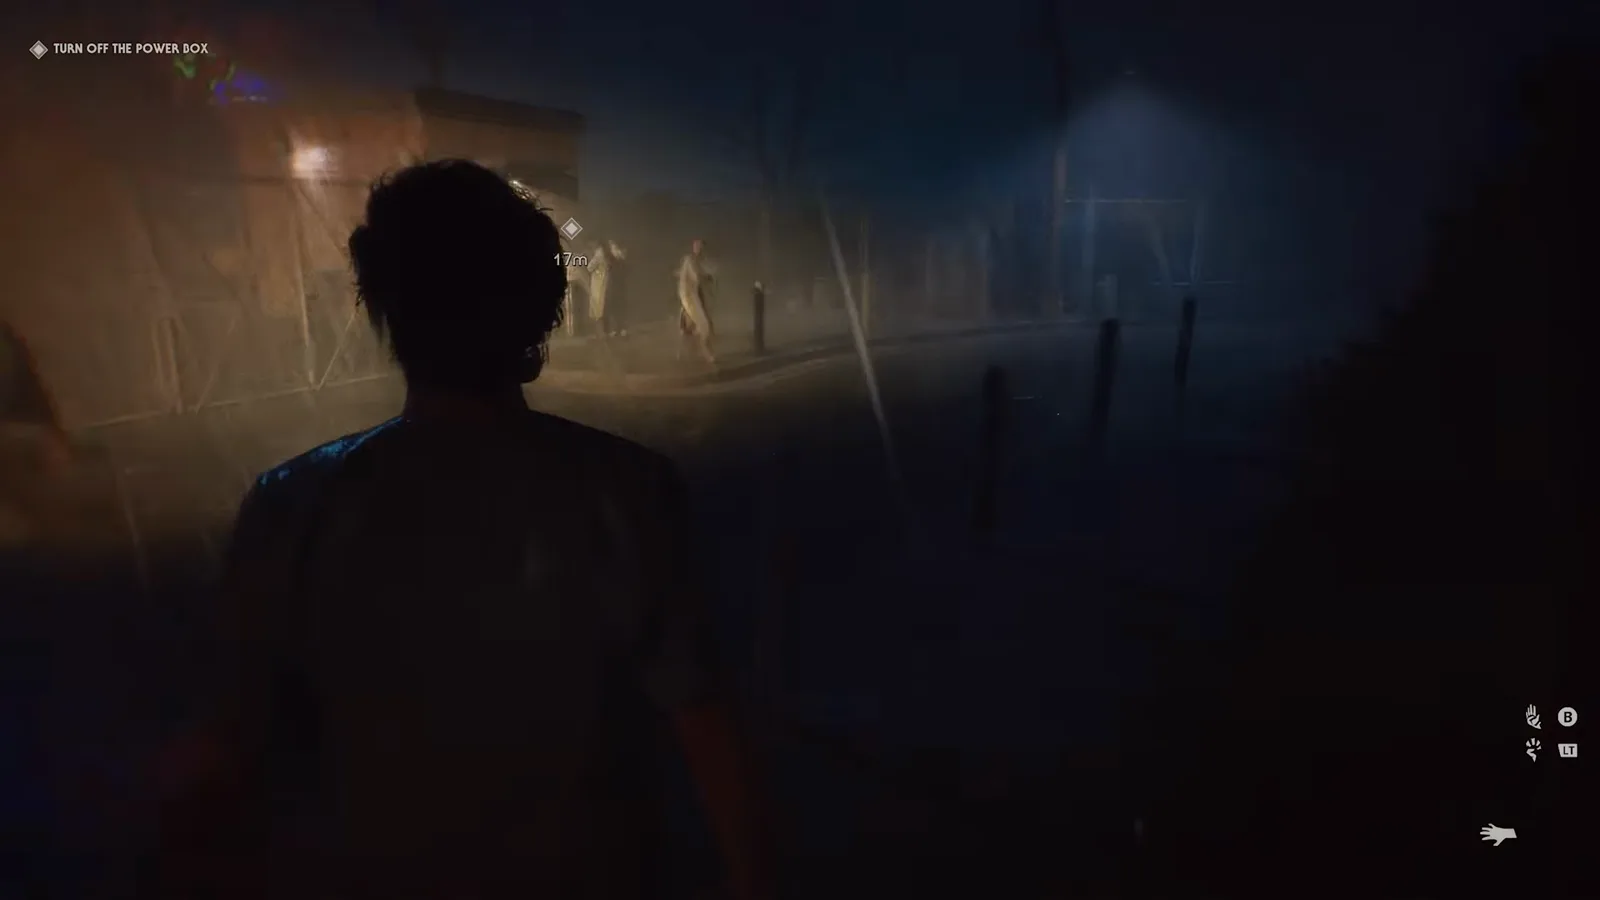
Find the power box first; the pole is a few steps to its right. Watch at 5:26.
Challenge 4 — throw an orderly to his death
JROID places this one immediately after the pole: take the path and then a right, where “you will see an orderly shining a flashlight on one of the Smith’s Grove patients.” Walk up behind him, grab, carry him a short way down the road until the throw icon appears, then press it — “the game will take over.”
Challenge 5 — finish without alerting a single orderly
This is the infamous one, and the only Prologue challenge with three dedicated walkthroughs. The goal, in WEEZYFMAMBA’s words: “we have to complete this chapter without alerting any orderlies” [0:30]. JCglitchmaster frames it the same way — “not alert any orderlies” [0:00] — and JROID concedes it is “at this current time problematic” [2:34].
The mechanic that makes it hard is taught by the game itself, in a card that appears on the walk to the lower gate: RUSHING — “Use LS while moving to Rush forward quickly. Rushing makes Michael walk much faster, but creates louder footsteps that can easily alert those nearby.”
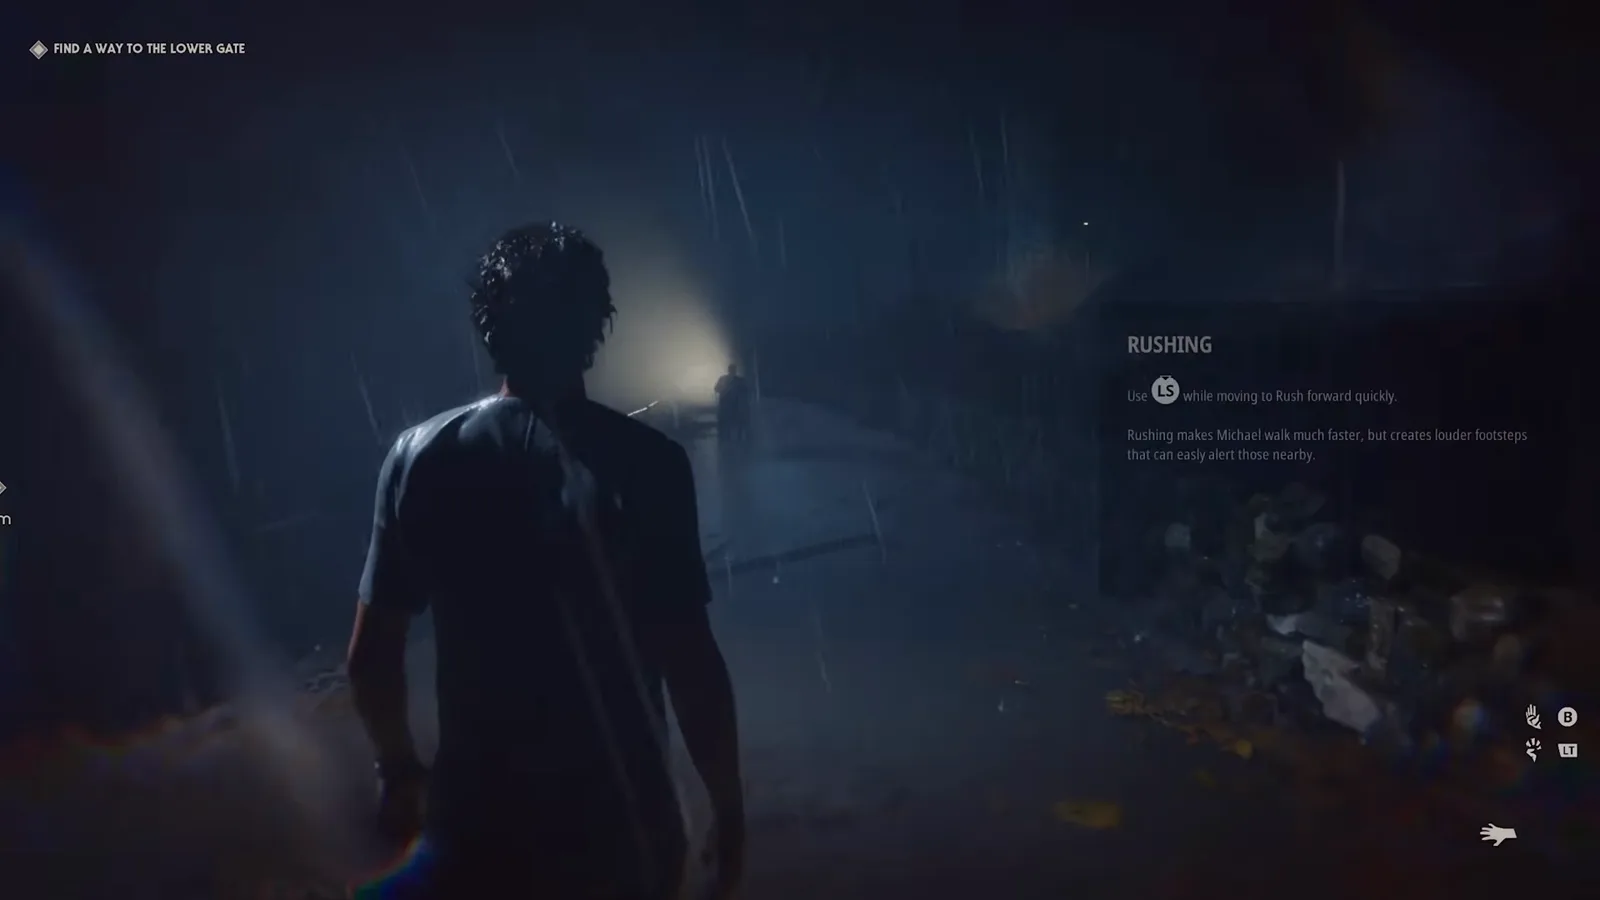
Read this card twice: the challenge is lost by noise, not by sightlines. Watch at 3:28.
The route all three creators converge on, in their own words:
- Do not fight on the way out. JROID: “right when it starts, you’re going to skip all this trash … stroll on out.”
- Walk down the steps to the edge of the rock wall and stop. An orderly sweeps the stairs with a flashlight — wait until his back is turned (JROID, WEEZYFMAMBA).
- Retreat up the steps and sit behind the parked ambulance/van while orderlies run past up the street. WEEZYFMAMBA: “you’re going to see these orderlies start running up the street. You are immediately going to turn back around, go up the stairs, and then come sit right by this car.”
- When the second orderly crosses the corner bush, go immediately — there is no second window. Speed-walk only to the marked point, then walk again; get “way past that telephone pole” so the next light sweeps behind you (WEEZYFMAMBA).
- Ignore the alarm. WEEZYFMAMBA: “Don’t worry about the alarm. It does not ruin your run. The alarm will always happen.”
- Continue to the power box — the HUD line reads
TURN OFF THE POWER BOX— thenPRY OPEN THE GATE, the objective under which the XP feed banks+050 XP Lights Out. Break for the wagon while Loomis goes to check the building. WEEZYFMAMBA narrates this beat as “turn on the power … pry this open”, so his commentary and your objective line may run opposite ways; follow the HUD. JROID: “we bolt out, hit the back of the station wagon … we got no stars, zero. But guess what? Bam. It was complete.”
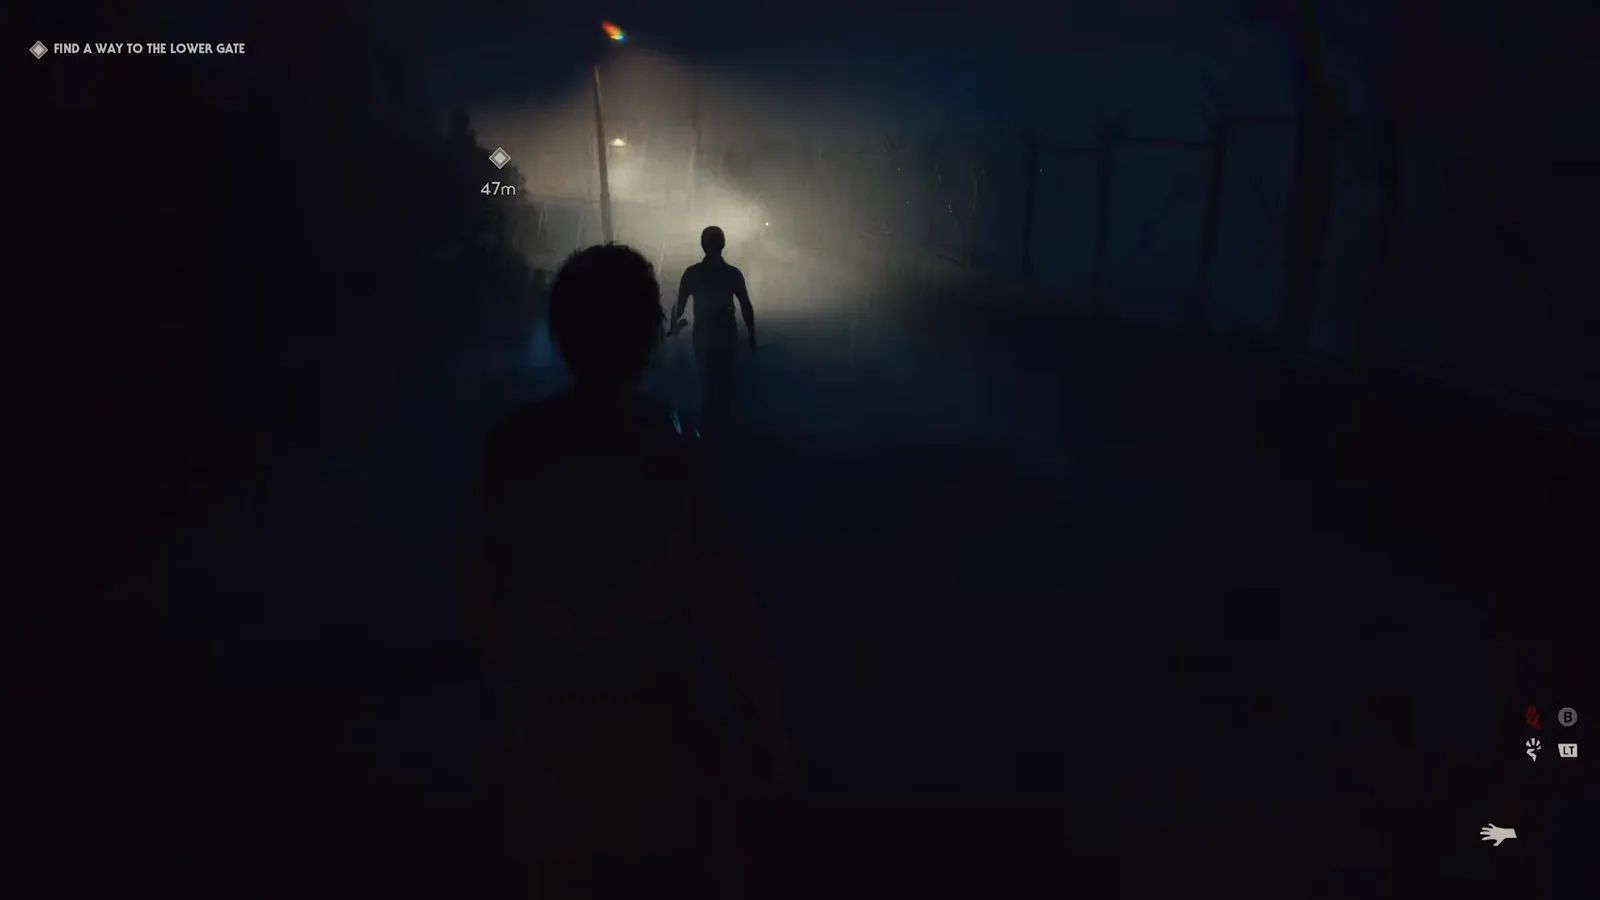
This is the patrol pattern you are timing around, not fighting. Watch at 4:25.
JROID adds the failure state you will actually hit [5:14]: an orderly walking himself into geometry and freezing. “You see how he is stuck? That is problematic. That means we’re going to need to restart.” His honest verdict on the challenge: “All I can tell you is have some patience.”
Challenge 6 — clear all twelve orderlies
JROID [9:24]: challenge six “involves taking out or driving away every orderly before you escape … 12 orderlys.” He works the map in the order the mission walks you through — steps, ambulance, the path, the ditch, the drainage area, up the hill past the power box — then loops back to the spawn, because one orderly is unreachable behind a gate until you double back (“Michael doesn’t climb gates”) [13:36].
Two useful findings from his run: an orderly who breaks and runs is not automatically a lost challenge — “you’ll see at the top of the screen that he escaped. Now, this does not matter. I still completed the challenge” [12:34] — and the whole list only banks when you finish. Every elimination pays into the same feed you saw on the grabs: +350 XP split across Weapon Execution, Grabbed Police, Surprise and Stalk.
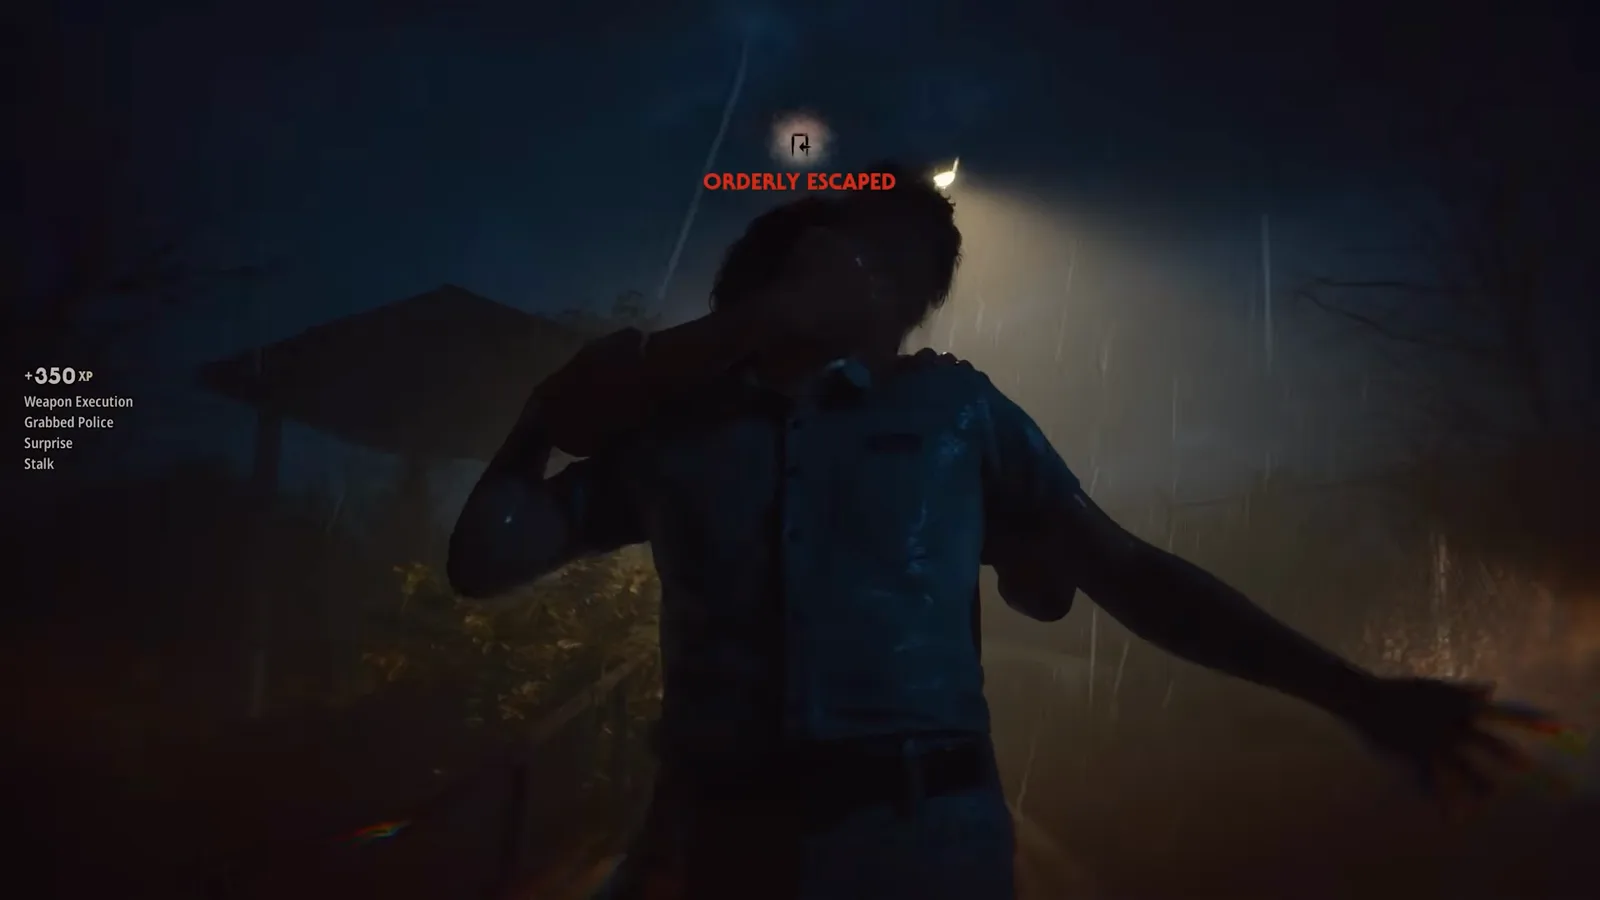
Twelve of these, or a mix of kills and routs, then the wagon. Watch at 5:16.
What the chapter’s objective chain looks like
The challenges sit on top of the mission, so knowing the objective order tells you where each one is reachable. Read straight off the HUD of one continuous run:
| Order | Objective on screen | Why it matters for challenges |
|---|---|---|
| 1 | ESCAPE FROM SMITH'S GROVE / banner ESCAPE THE SANITORIUM | Chapter identity; the challenge set hangs off this |
| 2 | KILL OR TERRIFY THE ORDERLY | Challenges 1 and 2 live here |
| 3 | FIND A WAY TO THE LOWER GATE | The RUSHING tutorial and the no-alert patrol gauntlet |
| 4 | TURN OFF THE POWER BOX | Challenge 3’s telephone pole is beside this |
| 5 | PRY OPEN THE GATE | Banks +050 XP Lights Out immediately after the power task |
| 6 | REACH THE BACK OF THE STATION WAGON UNDETECTED | The finish line for every challenge — note the word |
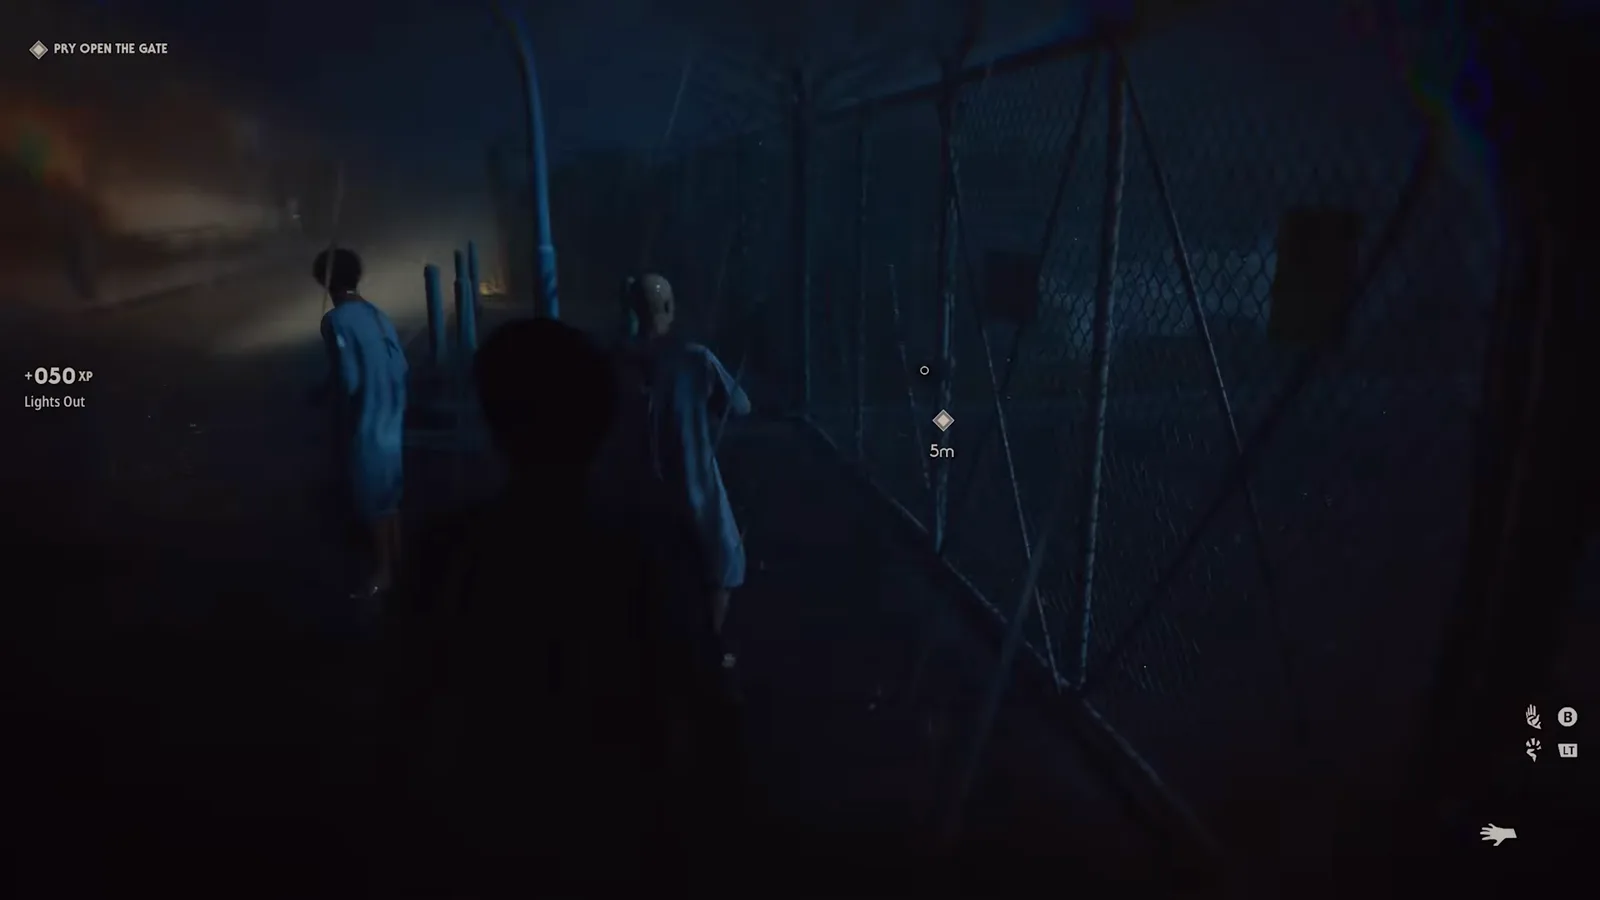
The Lights Out payout lands on this objective, straight after the power box. Watch at 5:41.
That last line is worth dwelling on: the game writes UNDETECTED into its own final objective. It is not the Challenge 5 condition — that one covers the whole chapter — but it is the same skill, and it is why a clean no-alert run usually ends on this screen rather than in a fight.
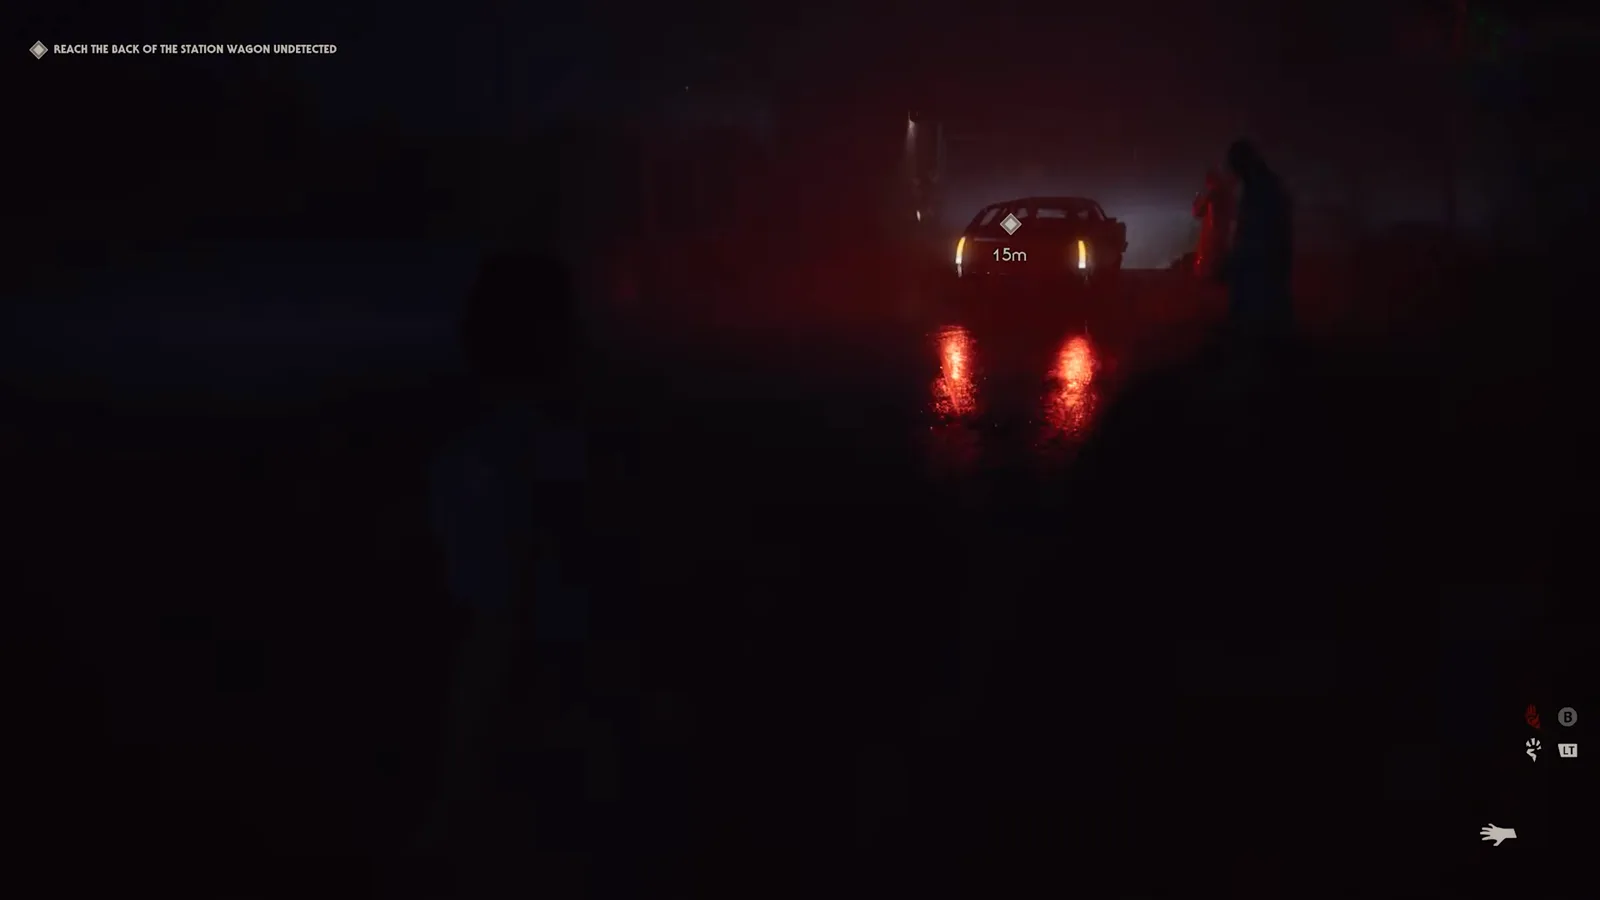
Touch the back of this wagon and the chapter, and everything you banked on it, commits. Watch at 7:30.
Should you farm challenges on your first playthrough?
Not all six at once. Challenges 1–4 fall out of a normal aggressive run almost for free — JROID expects you to clear the bare-handed trio without trying — so the sensible split is: play the chapter normally and pick up 1, 2, 3 and 4, then deliberately re-run it for 5, and use a kill-everyone route for 6.
On difficulty the two best-informed sources disagree, and neither claim is verifiable from the HUD. WEEZYFMAMBA’s Challenge 5 guide says “make sure that you are on normal mode.” JCglitchmaster says the opposite from a different problem: “If your challenges aren’t tracking period, I had the same thing and the only fix that I found was to put it on the harder difficulty. I don’t know if this is a bug or what, but that’s how you fix it.” Read together: start on normal, and if nothing ticks over at all, move up a step and test again.
The reward for the effort is a cosmetic, and it is worth naming honestly: WEEZYFMAMBA frames the whole grind as the route to “your ghost Myers, your ghost sheet Myers skin” — the bedsheet costume. This page could not capture the challenge menu’s own reward line in clean footage, so treat that name as attributed and confirm it in your build. Experience earned on the way out here feeds the same unlock economy as multiplayer, documented in the progression and customization guide and the perk card breakdown.
Where this page stops
The campaign walkthrough Chapter 1 covers this same escape as a story sequence — cutscenes, Loomis’s narration, the Shoving tutorial, what happens next at the Rabbit in Red. This page covers the challenge layer on top of it: the six conditions, where each one is satisfiable on the objective chain, and the route people actually use for the no-alert run. Read the walkthrough for the narrative, this page for the trophy-hunting.
The exit you finish on is a story-mode wagon, not a multiplayer escape route — those (storm cellar, perimeter gate, police wagon, sedan) are a different system entirely and are documented in the how to escape guide and the map routes and exit points reference. For grab, stalk and execution mechanics on the killer side in general, see how to play as Michael Myers and the Michael Myers profile.

Halloween: The Game Story Mode | Prologue: Escape From Smith's Grove (No Commentary) — MJPW
Sources
- Frames and on-screen HUD text: MJPW — Halloween: The Game Story Mode | Prologue: Escape From Smith’s Grove (video ID
qvAb_qFMyVQ, 9:26, no commentary). Verified facecam-free and watermark-free; everyCODEstring on this page —ESCAPE FROM SMITH'S GROVE,ESCAPE THE SANITORIUM,KILL OR TERRIFY THE ORDERLY,GRABBING VICTIMS,RUSHING,FIND A WAY TO THE LOWER GATE,TURN OFF THE POWER BOX,PRY OPEN THE GATE,REACH THE BACK OF THE STATION WAGON UNDETECTED,ORDERLY ESCAPED,Bare Handed,Grabbed Police,Surprise,Stalk,Weapon Execution,Lights Out— was read off those frames. Frames after ~500s are excluded: the video ends on a creator outro card carrying an “MJPW” watermark. - Challenge list and conditions (text sources only, frames unusable): JROID — Halloween The Game - Prologue ALL CHALLENGES Guide (
O-hnhZpK8U4, 15:44), all six goals plus the complete-the-chapter rule, the telephone-pole, throw and twelve-orderly claims; and JROID’s dedicated Prologue Challenge 5 Guide (eW1fxr8qmTQ) for the no-alert route. - No-alert route and reward: WEEZYFMAMBA — Halloween The Game Prologue Challenge 5 Guide (
I9TH5EqcKxQ), quoted for the goal wording, the alarm exemption, the normal-difficulty advice and the ghost-sheet skin reward. - Timing mechanics and the difficulty workaround: JCglitchmaster — Prologue Challenge 5 walkthrough (
-nftj3G-Jio). - Not claimed: the challenge-select menu layout, per-challenge reward text, an exact challenge counter on the HUD, and any patch-specific numbers. None of these appear in footage this page is permitted to use, so they are attributed to the named creator or left out.
Related Guides
- Campaign Walkthrough — The same escape told as a story sequence, chapter by chapter.
- Single-Player Story Mode Guide — What is confirmed about the mode versus what is still in question.
- How to Play as Michael Myers — Grab, stalk and execution mechanics in the killer role.
- How to Escape — All Routes and Survival Rules — The multiplayer exits this chapter’s wagon is not part of.
- Map Routes & Exit Points — Where cellars, gates and the sedan actually spawn in real matches.
- Progression and Customization Guide — Where Prologue XP and unlocked cosmetics go.
- Perk Cards Explained — The deck system those unlocks feed.
- Is Halloween: The Game Free? — Price, Game Pass and trial status, distinct from this chapter.
Evidence gallery
Related field reports
characters
Halloween: The Game All Civilians: Stats and Traits Screen by Screen
All 12 Civilians in Halloween: The Game: every attribute rating read off the character screen, with each trait named on screen and its effect quoted.
game-info
Halloween: The Game Developer and Publisher: IllFonic and Gun Interactive
Halloween: The Game is developed by IllFonic and published by IllFonic Publishing, with Gun Interactive recorded as co-publisher. Studio base, credits, support.
guides
Halloween: The Game XP: How to Level Up Fast and What Unlocks
XP awards read off live Killer-POV footage in Halloween: The Game, plus the Profile Level and challenge gates printed in the Killer loadout menu.
Was this report useful?
Response recorded